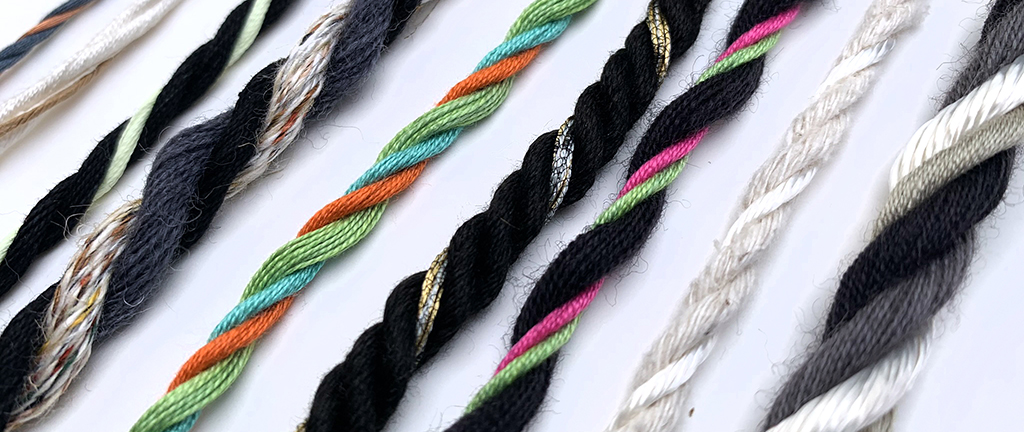
Cord making can be a simple way of constructing new yarn with little equipment.
Cord can be used in constructed fabrics, woven, knitted, crocheted etc. as well as for appliqué techniques. Cords are also commonly used in passementerie, tassels, trimmings and jewellery.
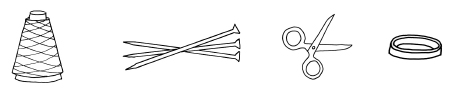
Materials
- To make a cord you will need:
- yarn or any type of thread
- knitting needles (a pen/pencil will also do the job)
- scissors
- masking tape
Method
To start with you will need to make a warp. The size of this warp will depend on the yarn you are making it with and the size cord you want to make. To start with try making a warp of 20 ends, 2.5m long.
If you do not have a warping mill/frame then you can wrap the yarn around a chair back and slip it off the top. Alternatively you could measure each piece of yarn e.g. 20 lengths of yarn each 2.5m long.
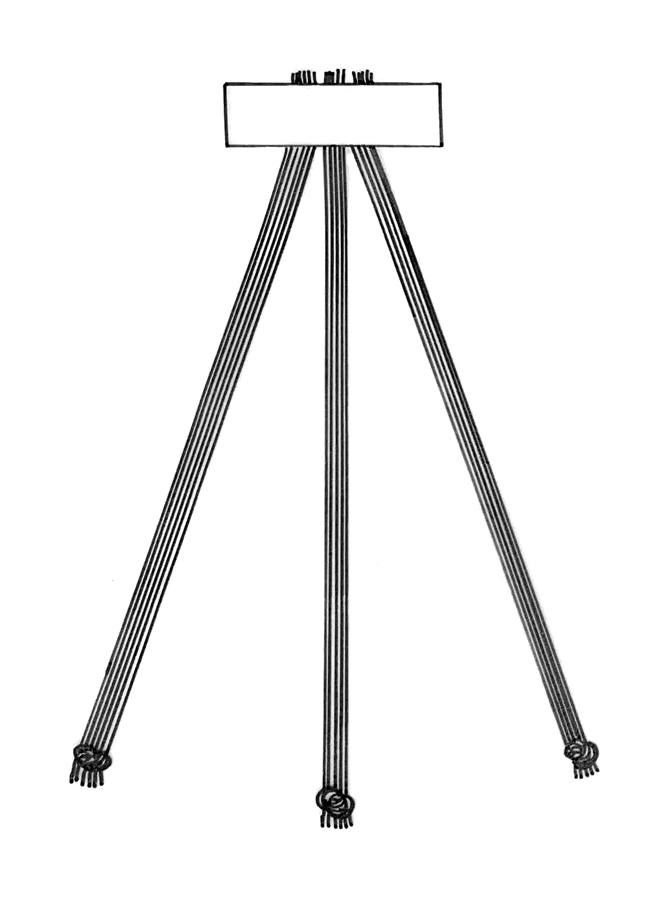
Cut three 75cm lengths of the warp then tie a knot in the end of each group of yarns and secure them to a table using masking tape. The knot helps stops the yarn from slipping out underneath the tape.
Alternatively, tie the ends to a door handle or fixed point. This is useful when making longer lengths of cord.
Tie another knot in the other end of each group.
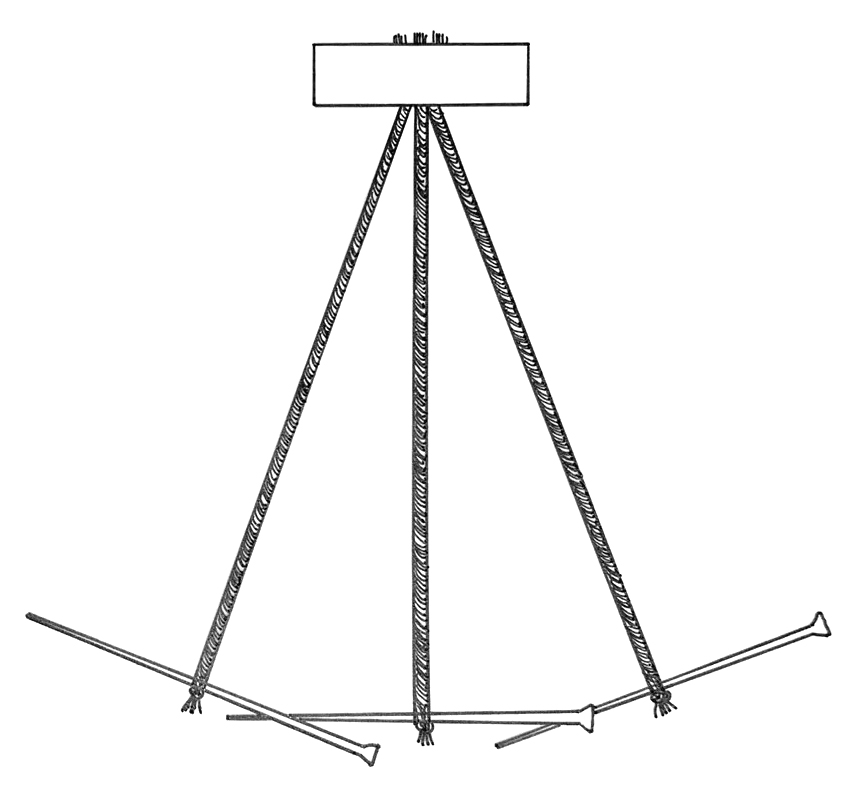
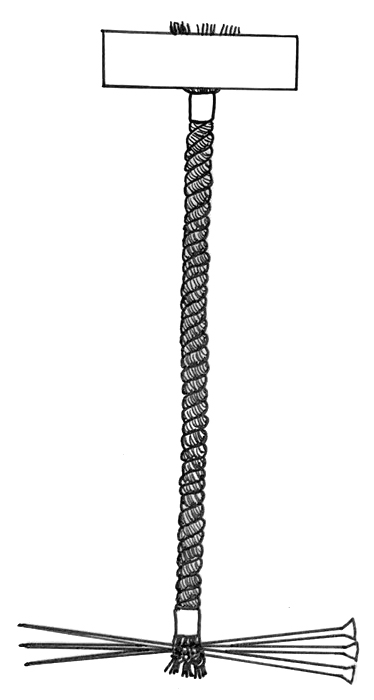
Slip a knitting needle (or pen/pencil) in to a group just above the knot in the free end. The knot keeps the yarn taut around the knitting needle.
Spin the knitting needle away from you (or in the opposite direction of the twist in the yarn) to add twist to the group of yarns. Add as much twist as you can without the yarn turning back on itself. Rest the knitting needle down on the table.
Do the same for each of the other two groups of yarn. ideally there should be the same amount of twist in each group.
To be accurate count the number of time you spin the knitting needle. it should be the same for all three. You can then work out the number of twists per meter (TPM) or twists per inch (TPI). Don’t get bogged down with this but it can be useful information to record.
Once all of the groups have been twisted, hold all of the knitting needles together. Twist all three towards you (or in the opposite direction of the first twists). This will bring all three groups together to make the cord.
Using an elastic band to hold the needles together while twisting can make it easier.
Twisting in opposite directions give the cord strength and stability.
Put as much twist in to the cord as you can before it starts to twist back on itself. Keeping a record of the number of twists is useful information to record.
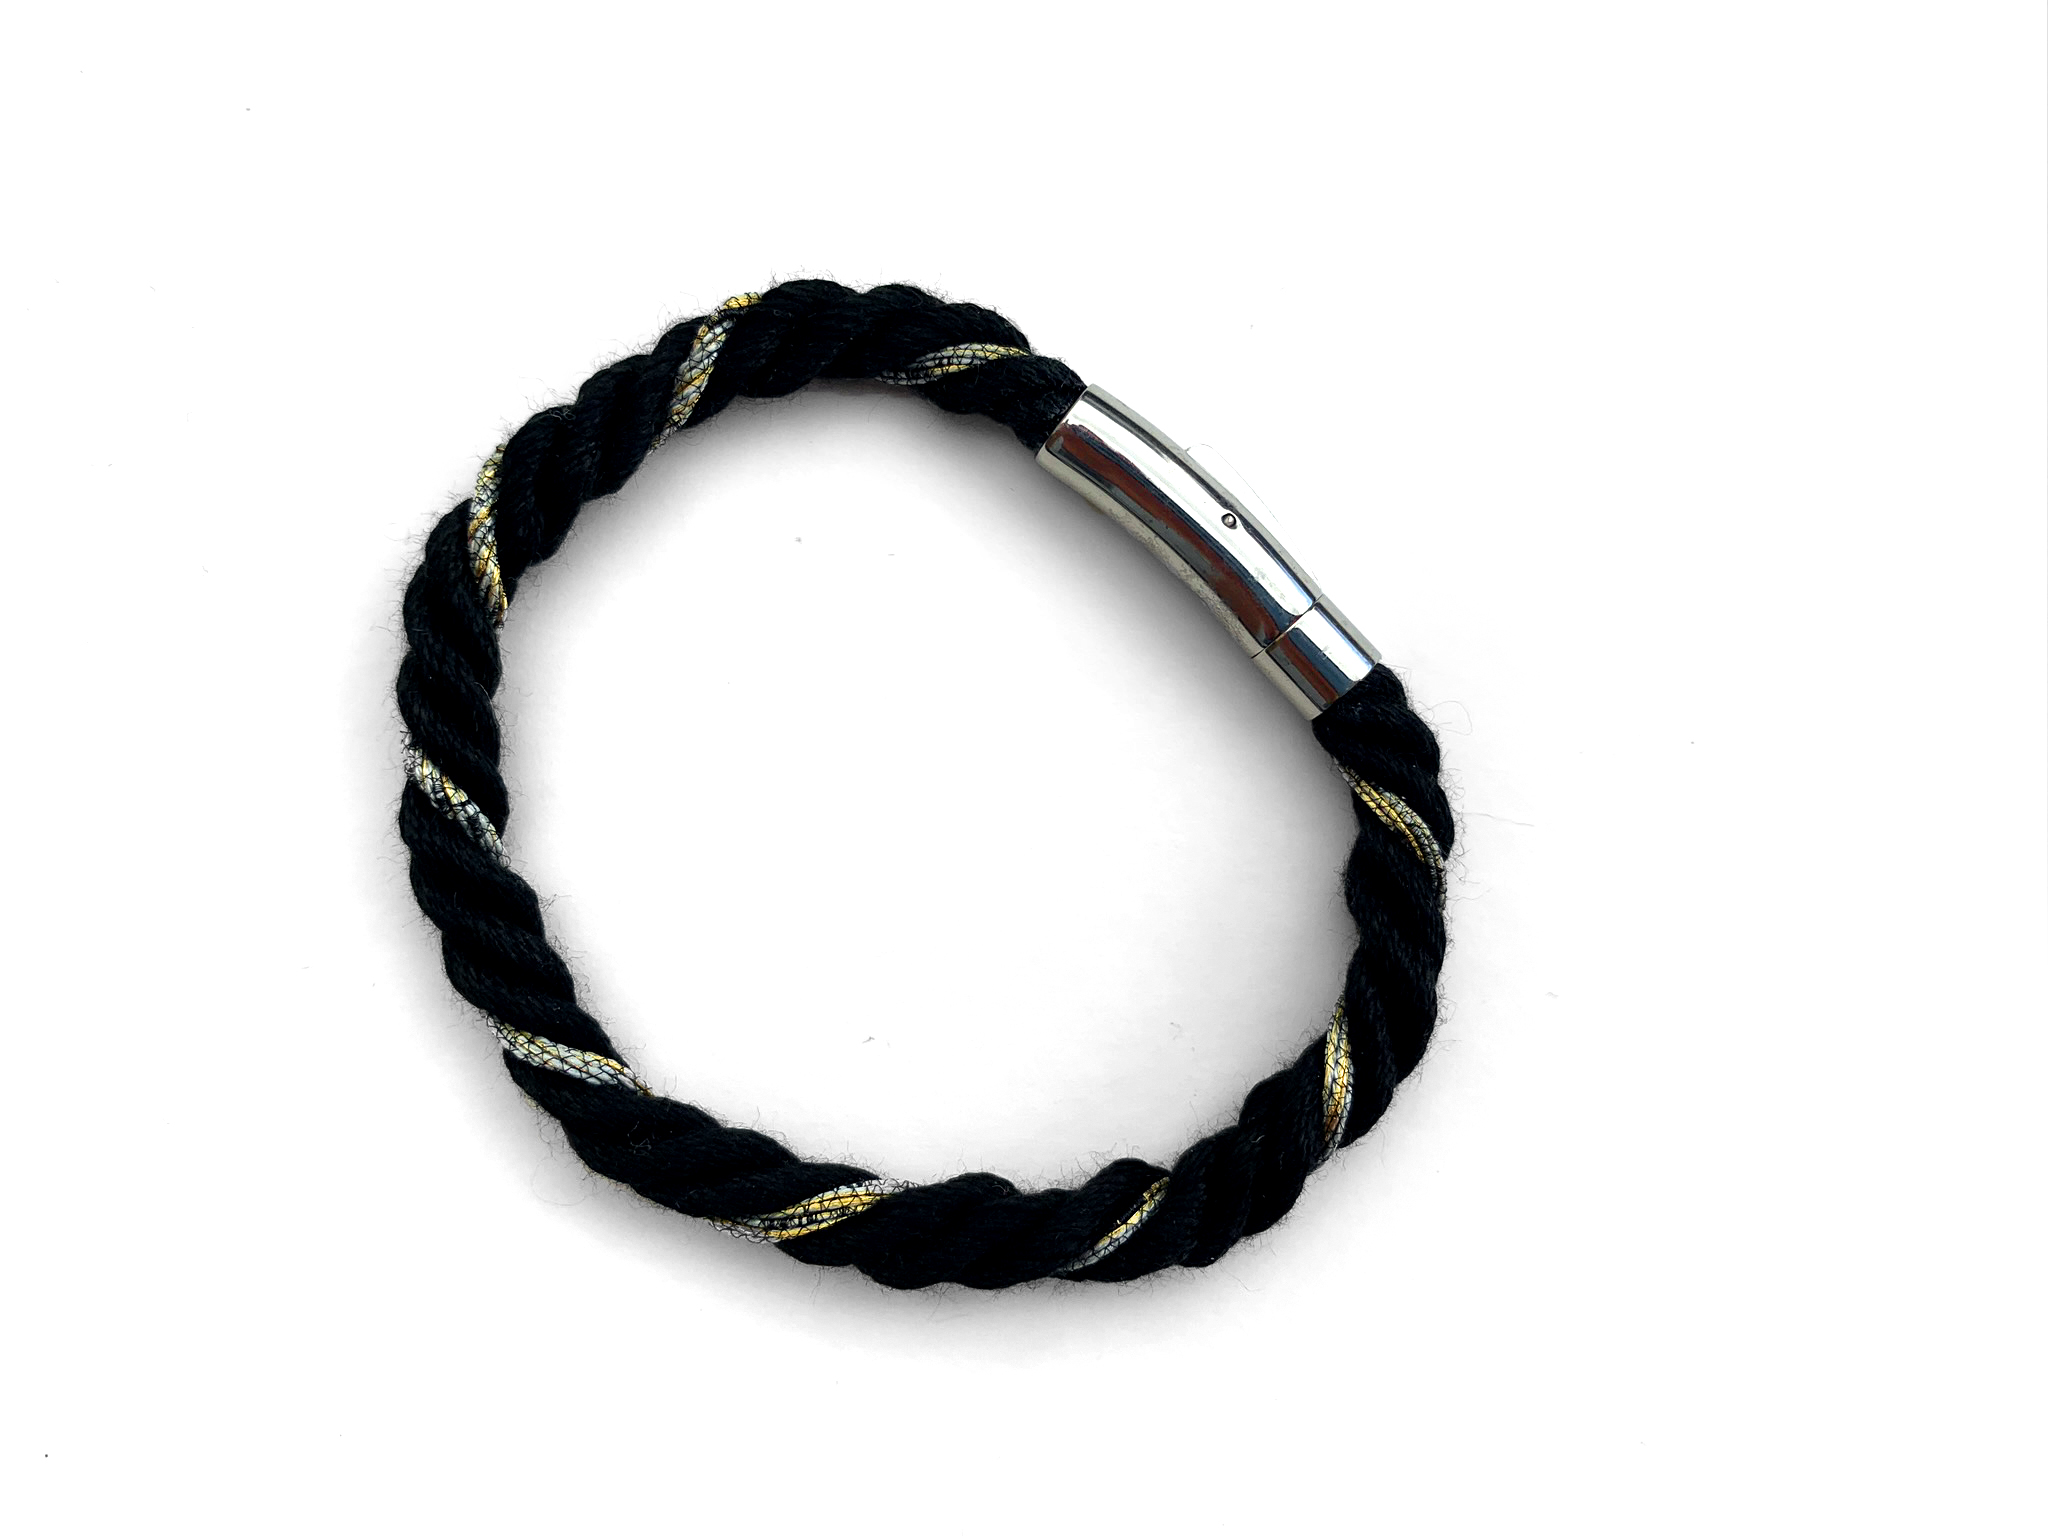
To stop the cord unravelling wrap some masking tape around each end and then cut through the tape.
Notice that as twist is added at each stage the length decreases. The cord is less than 75cm long when finished. The take up will be different for different types of yarn and different size warps. Keeping a record of the length of warp used to begin with and the end length of cord will help when planning cords.
Once you have got the hang of cord making try experimenting with the following:
- type of yarn – cotton, silk, wool, synthetic, metal, paper, sewing thread, embroidery thread
- thickness of yarn
- number of ends per warp
- length of warp cut to make cord
- number of groups of threads – two is minimum
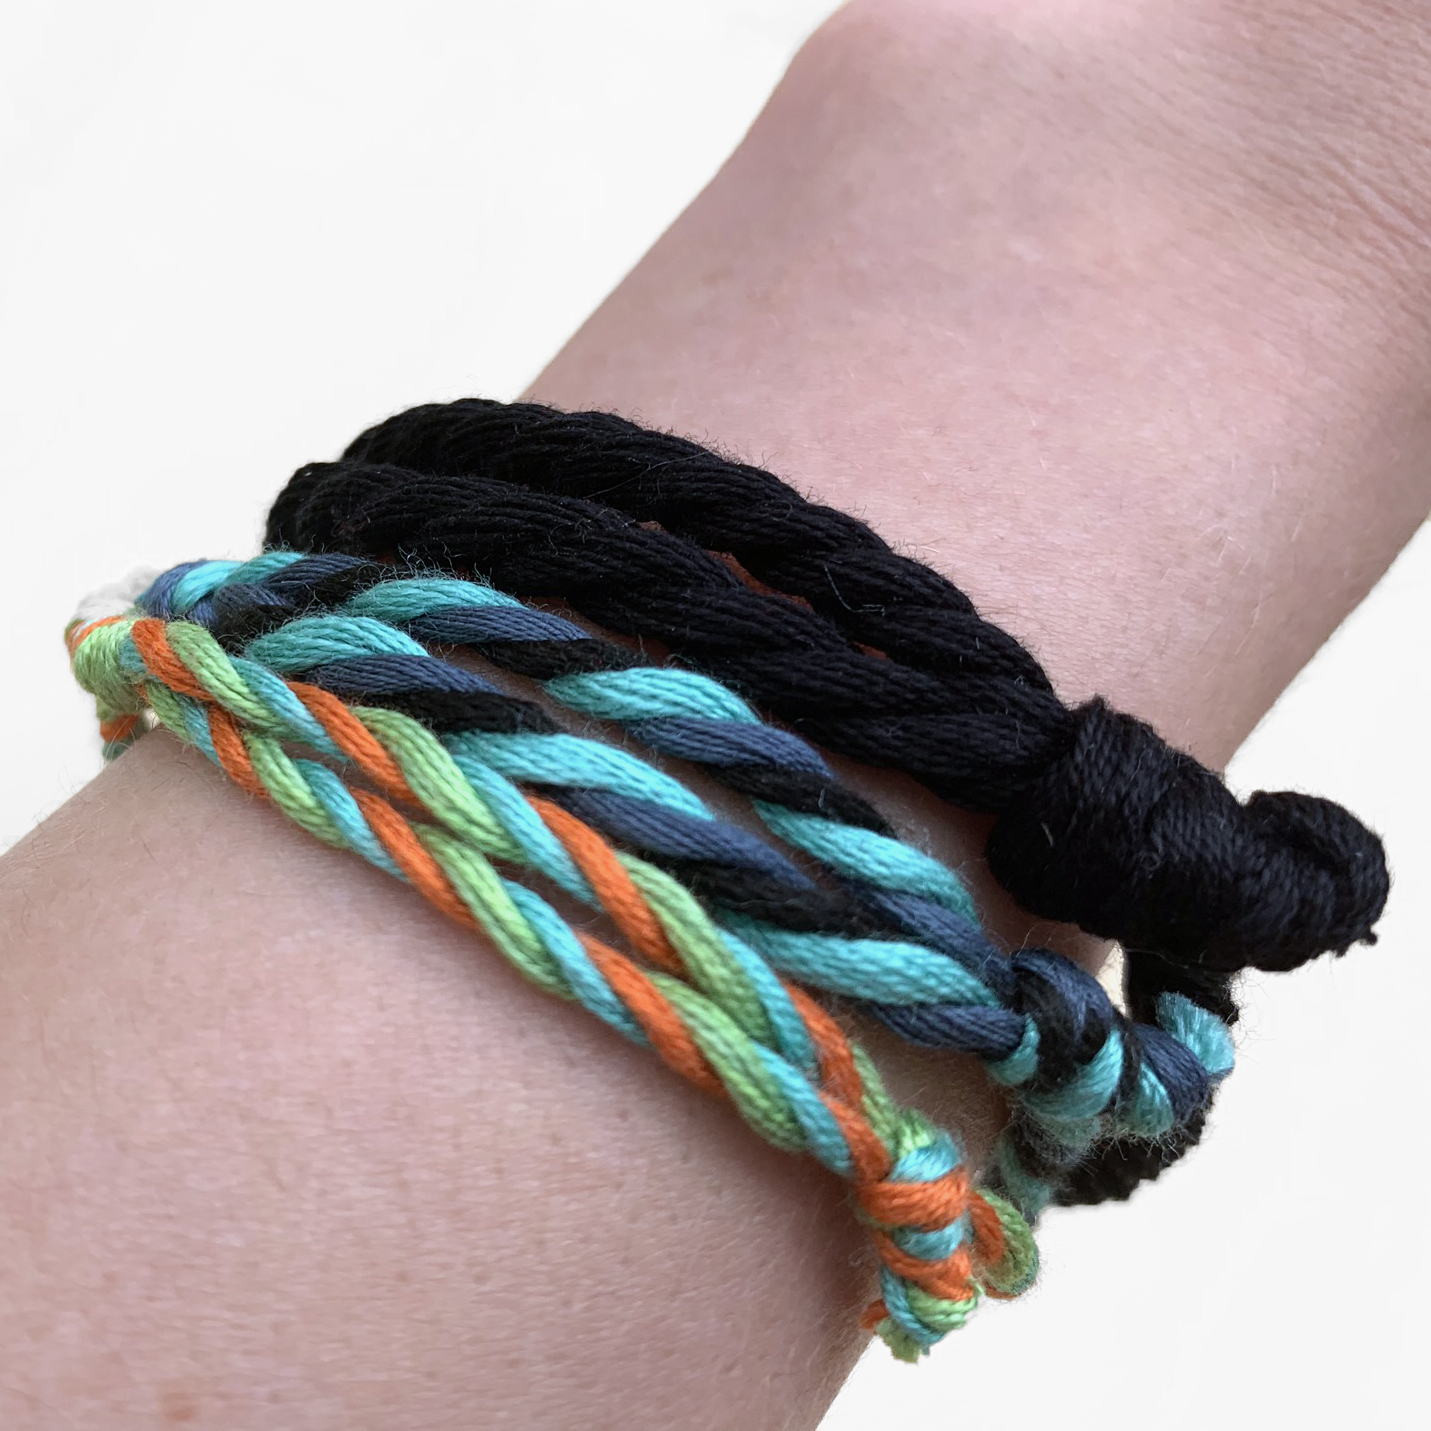
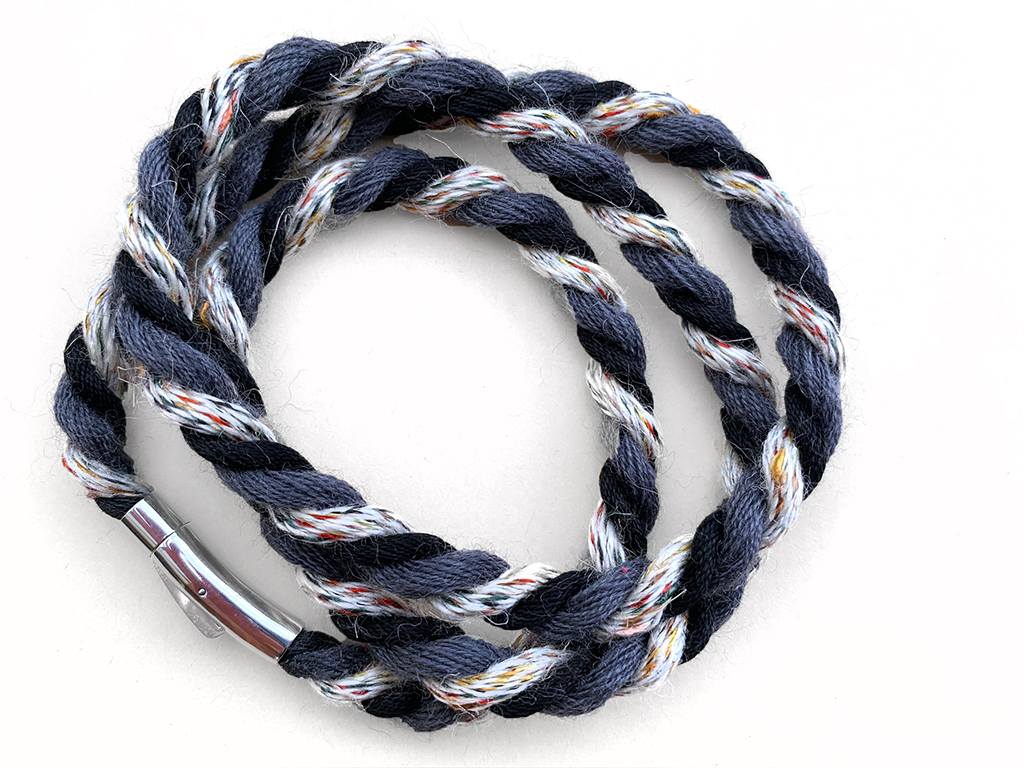
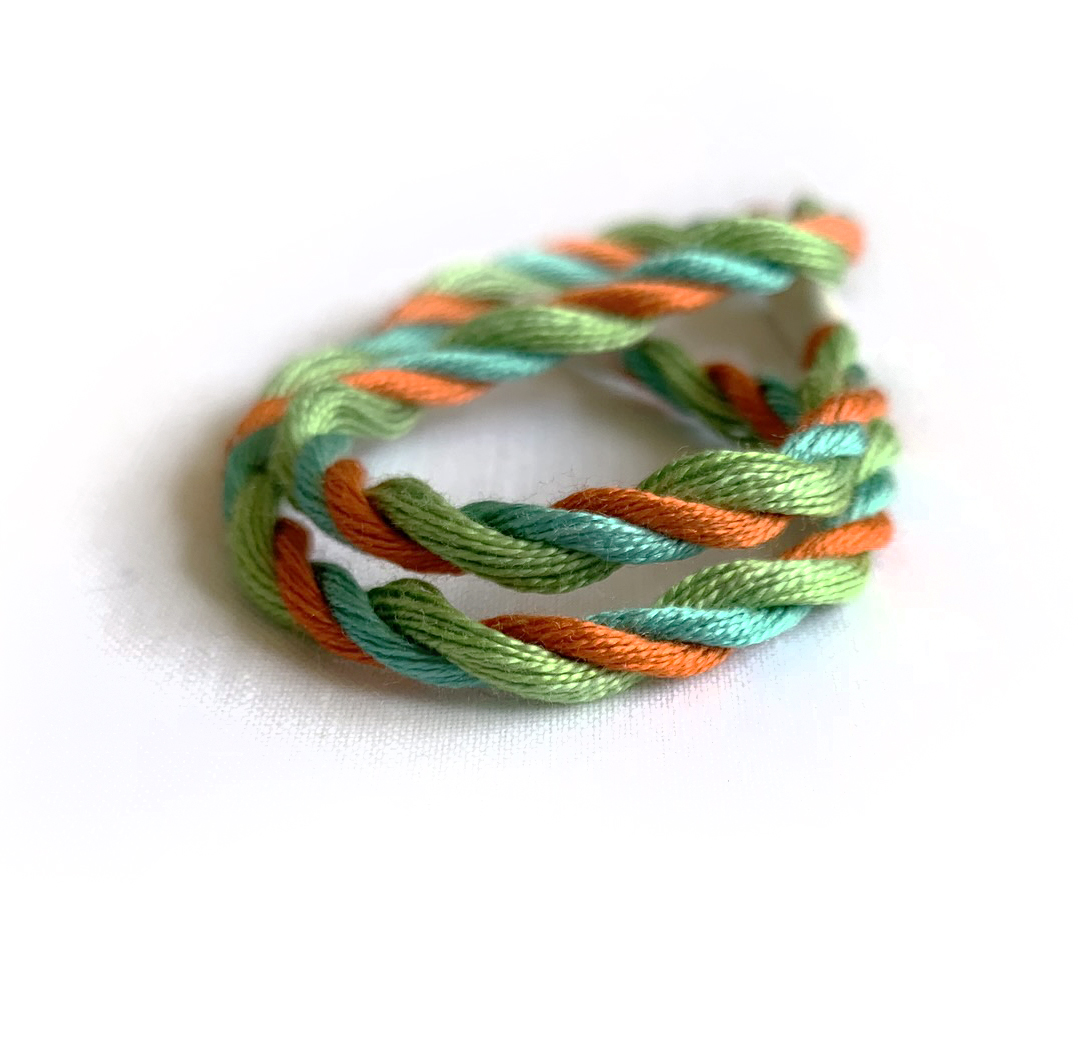
- try combining yarn type/thickness/colour in one cord