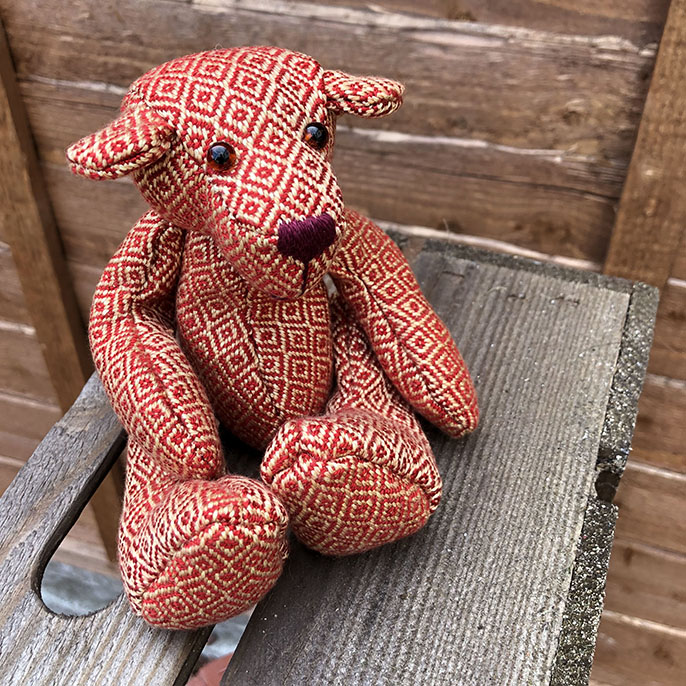
I created Cedric in 2012 after I graduated from a woven textiles degree in Norwich. The colours have been inspired by the colours of autumn. I just love the muted reds, oranges and yellows found at that time of year. He is entirely made by hand using traditional techniques. His fabric is handwoven using a super soft Tencel yarn with a twill based structure. He is hand sewn together and has cotterpin joints, glass eyes and a stitched nose. Inside he is full of tiny glass beads which gives him a mouldable, sturdy weight.
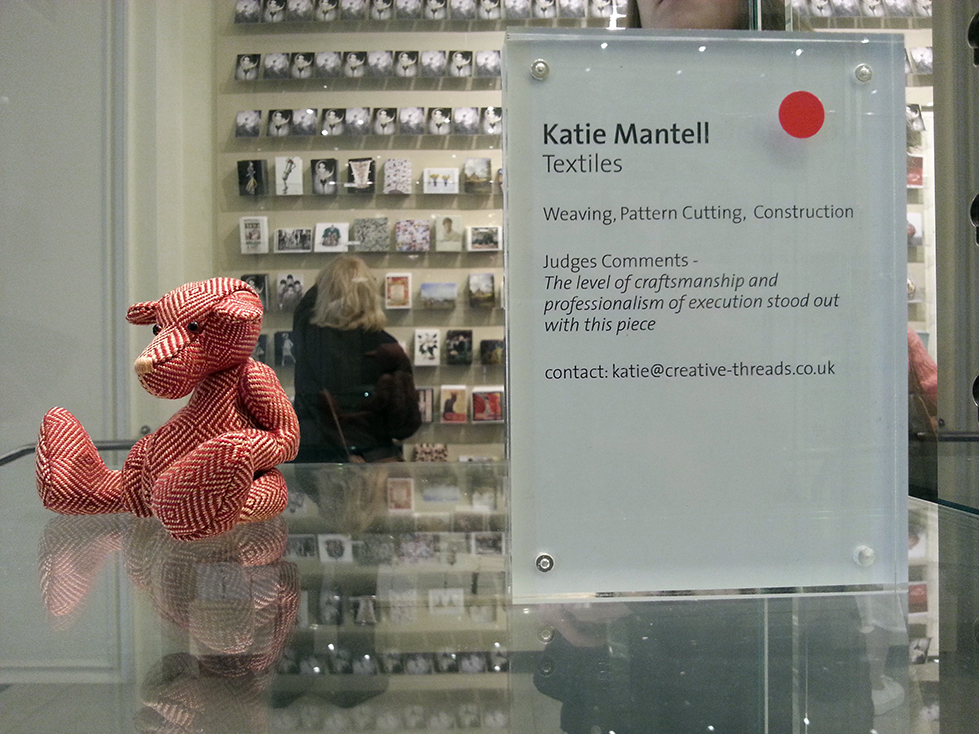
Just after I made him, Cedric and I appeared on BBC 2’s Paul Martin’s Handmade Revolution. As a winner Cedric was displayed at the Victoria and Albert Museum where he was adopted.
In this post you will see how the hand woven teddy bears start to take a three dimensional shape as I hand stitch the pieces together.
Due to the small size and shape of the teddy bears they all need to be sewn entirely by hand. I have tried sewing them using my sewing machine and although my it has great speed control it does not allow me to be accurate enough as I cannot see both sides at once and adjust the fitting.
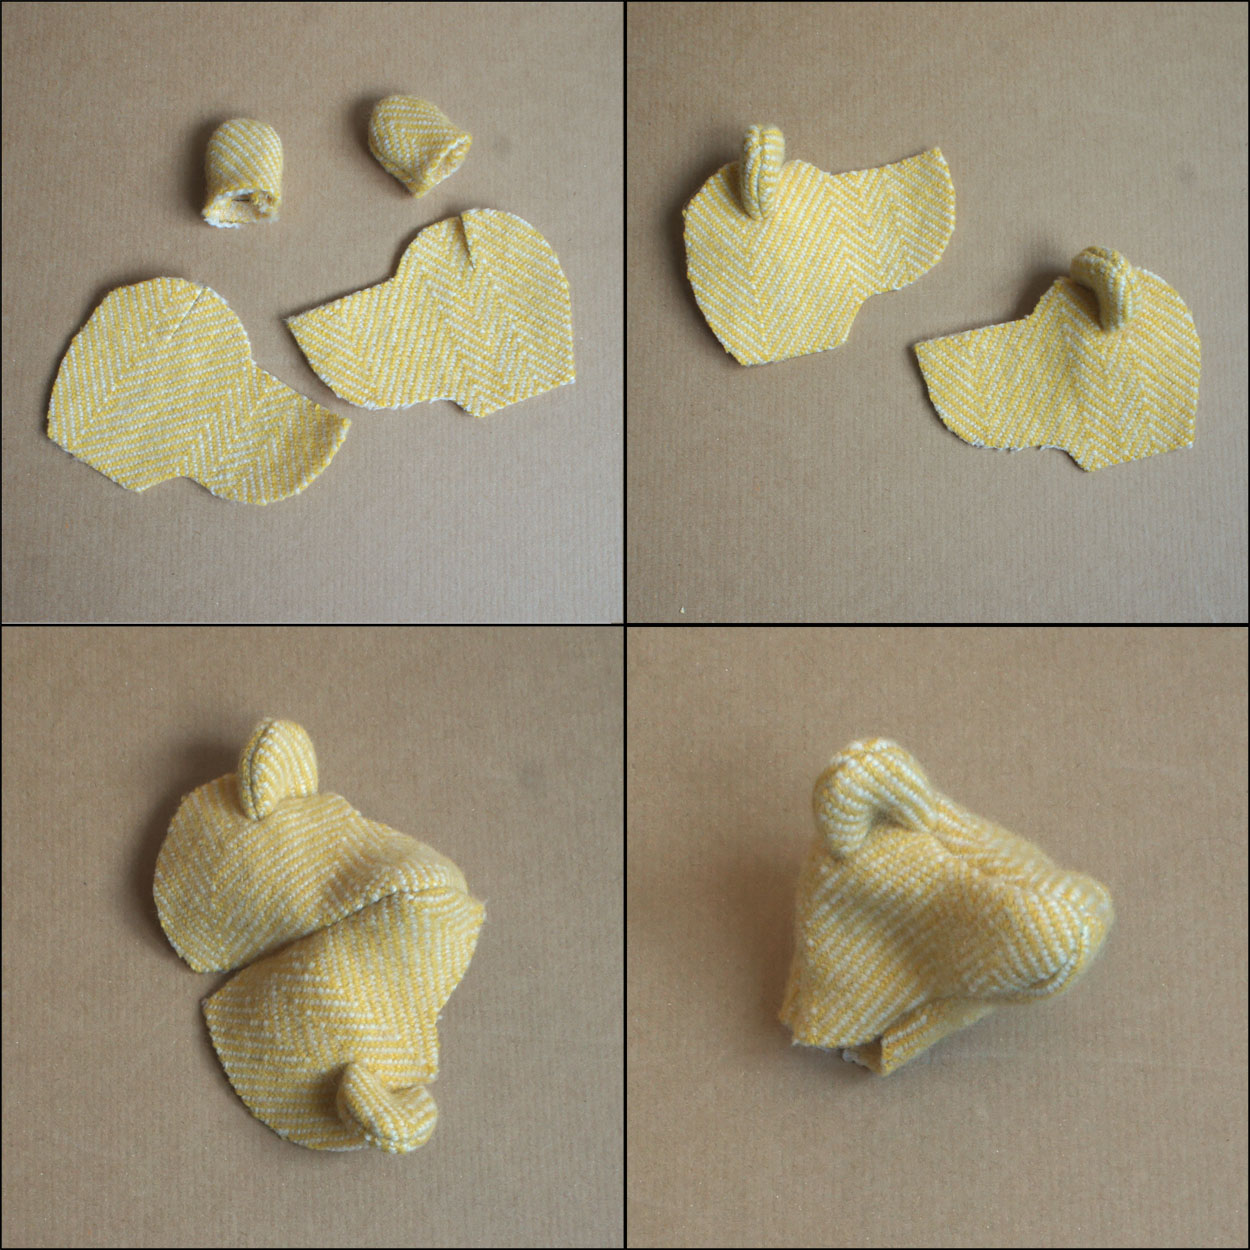
The pictures show the different stages of sewing the hand woven pieces together. I normally start with the head which has the most number of stages. I start with the ears before placing them on the head and then finally inserting the central head piece.
Each piece has to be sewn accurately and lined up exactly. As you can see, the body pieces have small darts at the top and bottom. When sewn together these need to be lined up. For some of the more tricky parts, such as the head and feet, I tack (large loose stitches) them together so that they can be checked and adjusted to line up as I want them to.
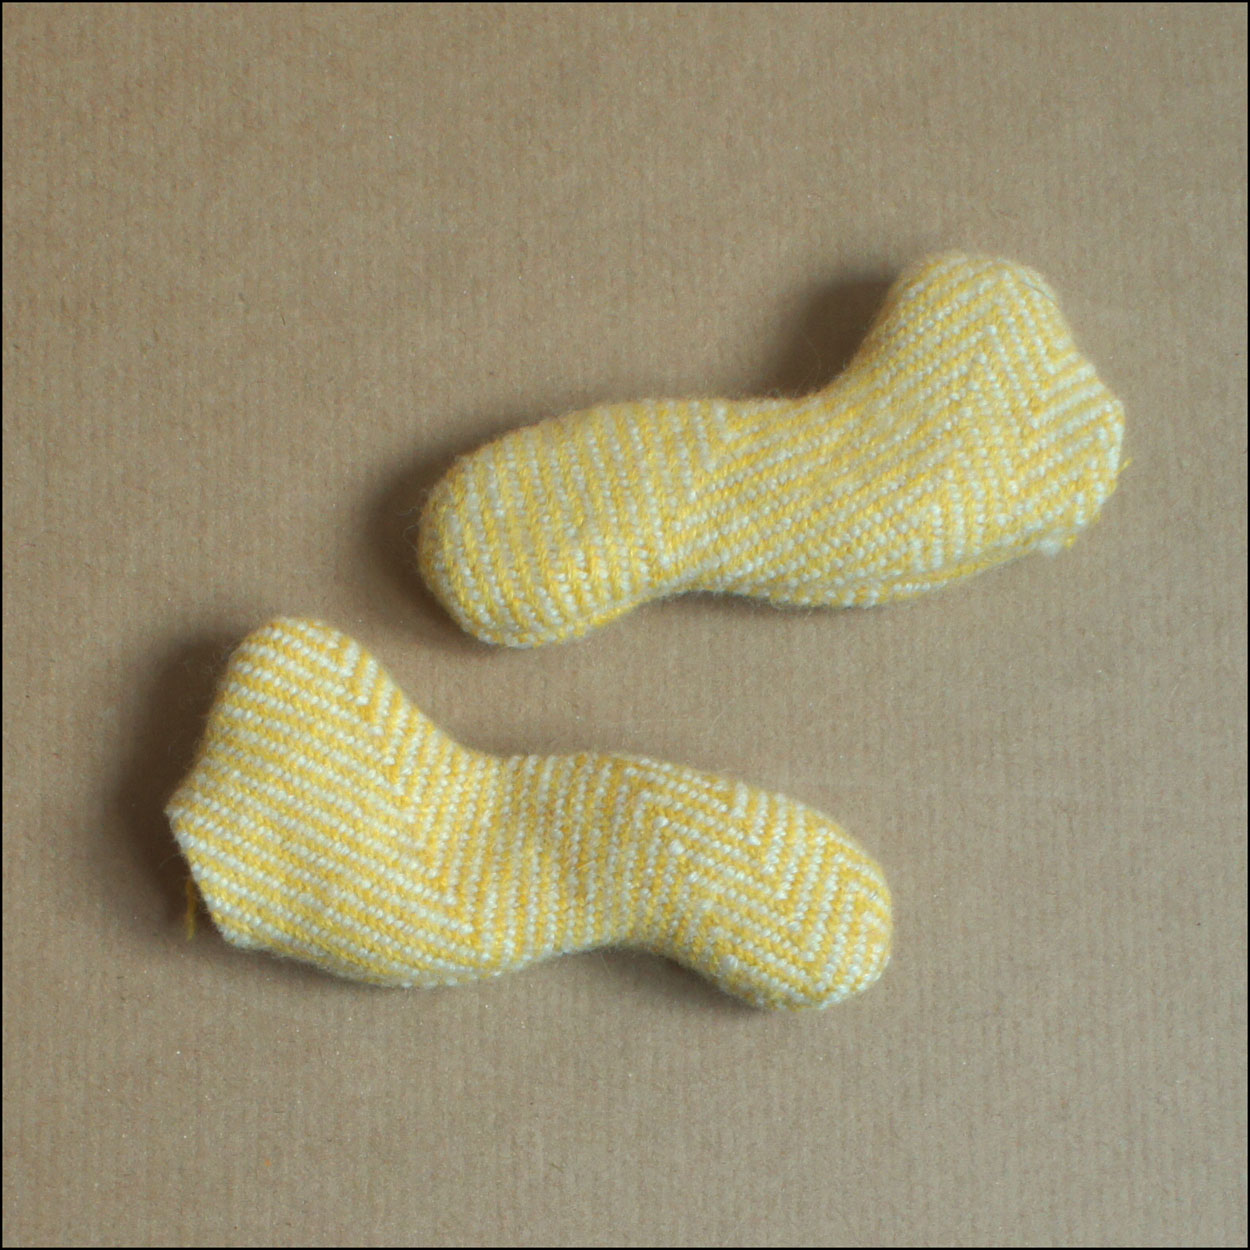
When sewn together I leave an opening in each body part. This is so I can insert the cotter pin joints which join the pieces together while allowing them to move around, and of course allows me to stuff the teddy bear.
Look out for my next blog post when the teddy bear will really take shape with stuffing.
In this post I am going to tell you how I hand weave fabric for my teddy bears. Once the loom is set up (as in my previous post) I can begin to weave my fabric. This time I am using a Countermarch loom but sometimes I will use different looms which means the weaving process is slightly different.
For my countermarch loom the first this to do it set up the treadles underneath, this determines the structures I am going to weave. Each treadle needs to be tied to every shaft. The shafts contain the heddles and each of these ties will decide whether the shaft will be lifted up or pulled down, this is how the structures are created.
Treadles tied up to shafts
When a treadle is pressed with the foot and the shafts lifted or lowered it creates a triangle shaped gap in the warp called the shed. A shuttle containing the weft (horizontal threads) is passed through the shed, the fabric begins to be woven.
Shed
The treadles are pressed in a certain order depending on what I am weaving, sometimes all twelve treadles will be used, sometimes only four may be needed. As more and more weft threads are interlaced with the warp threads the fabric grows longer. I will weave a few different fabrics from the same warp. Using different patterns and weft threads means I can produce very different fabrics from the same warp.
In this post I will talk about setting up the loom ready for weaving which involves putting the warp on to the loom. These threads need to be put on the loom in a very particular way to enable hand weaving.
First of all one end of my warp is wound on to a rotating beam at the back of the loom. To ensure the threads are spread across the width of this beam evenly I use a raddle which is a wooden bar with nails at half inch intervals. The threads are sectioned into half inches, between each of the nails.
Warp wound on to back beam through raddle
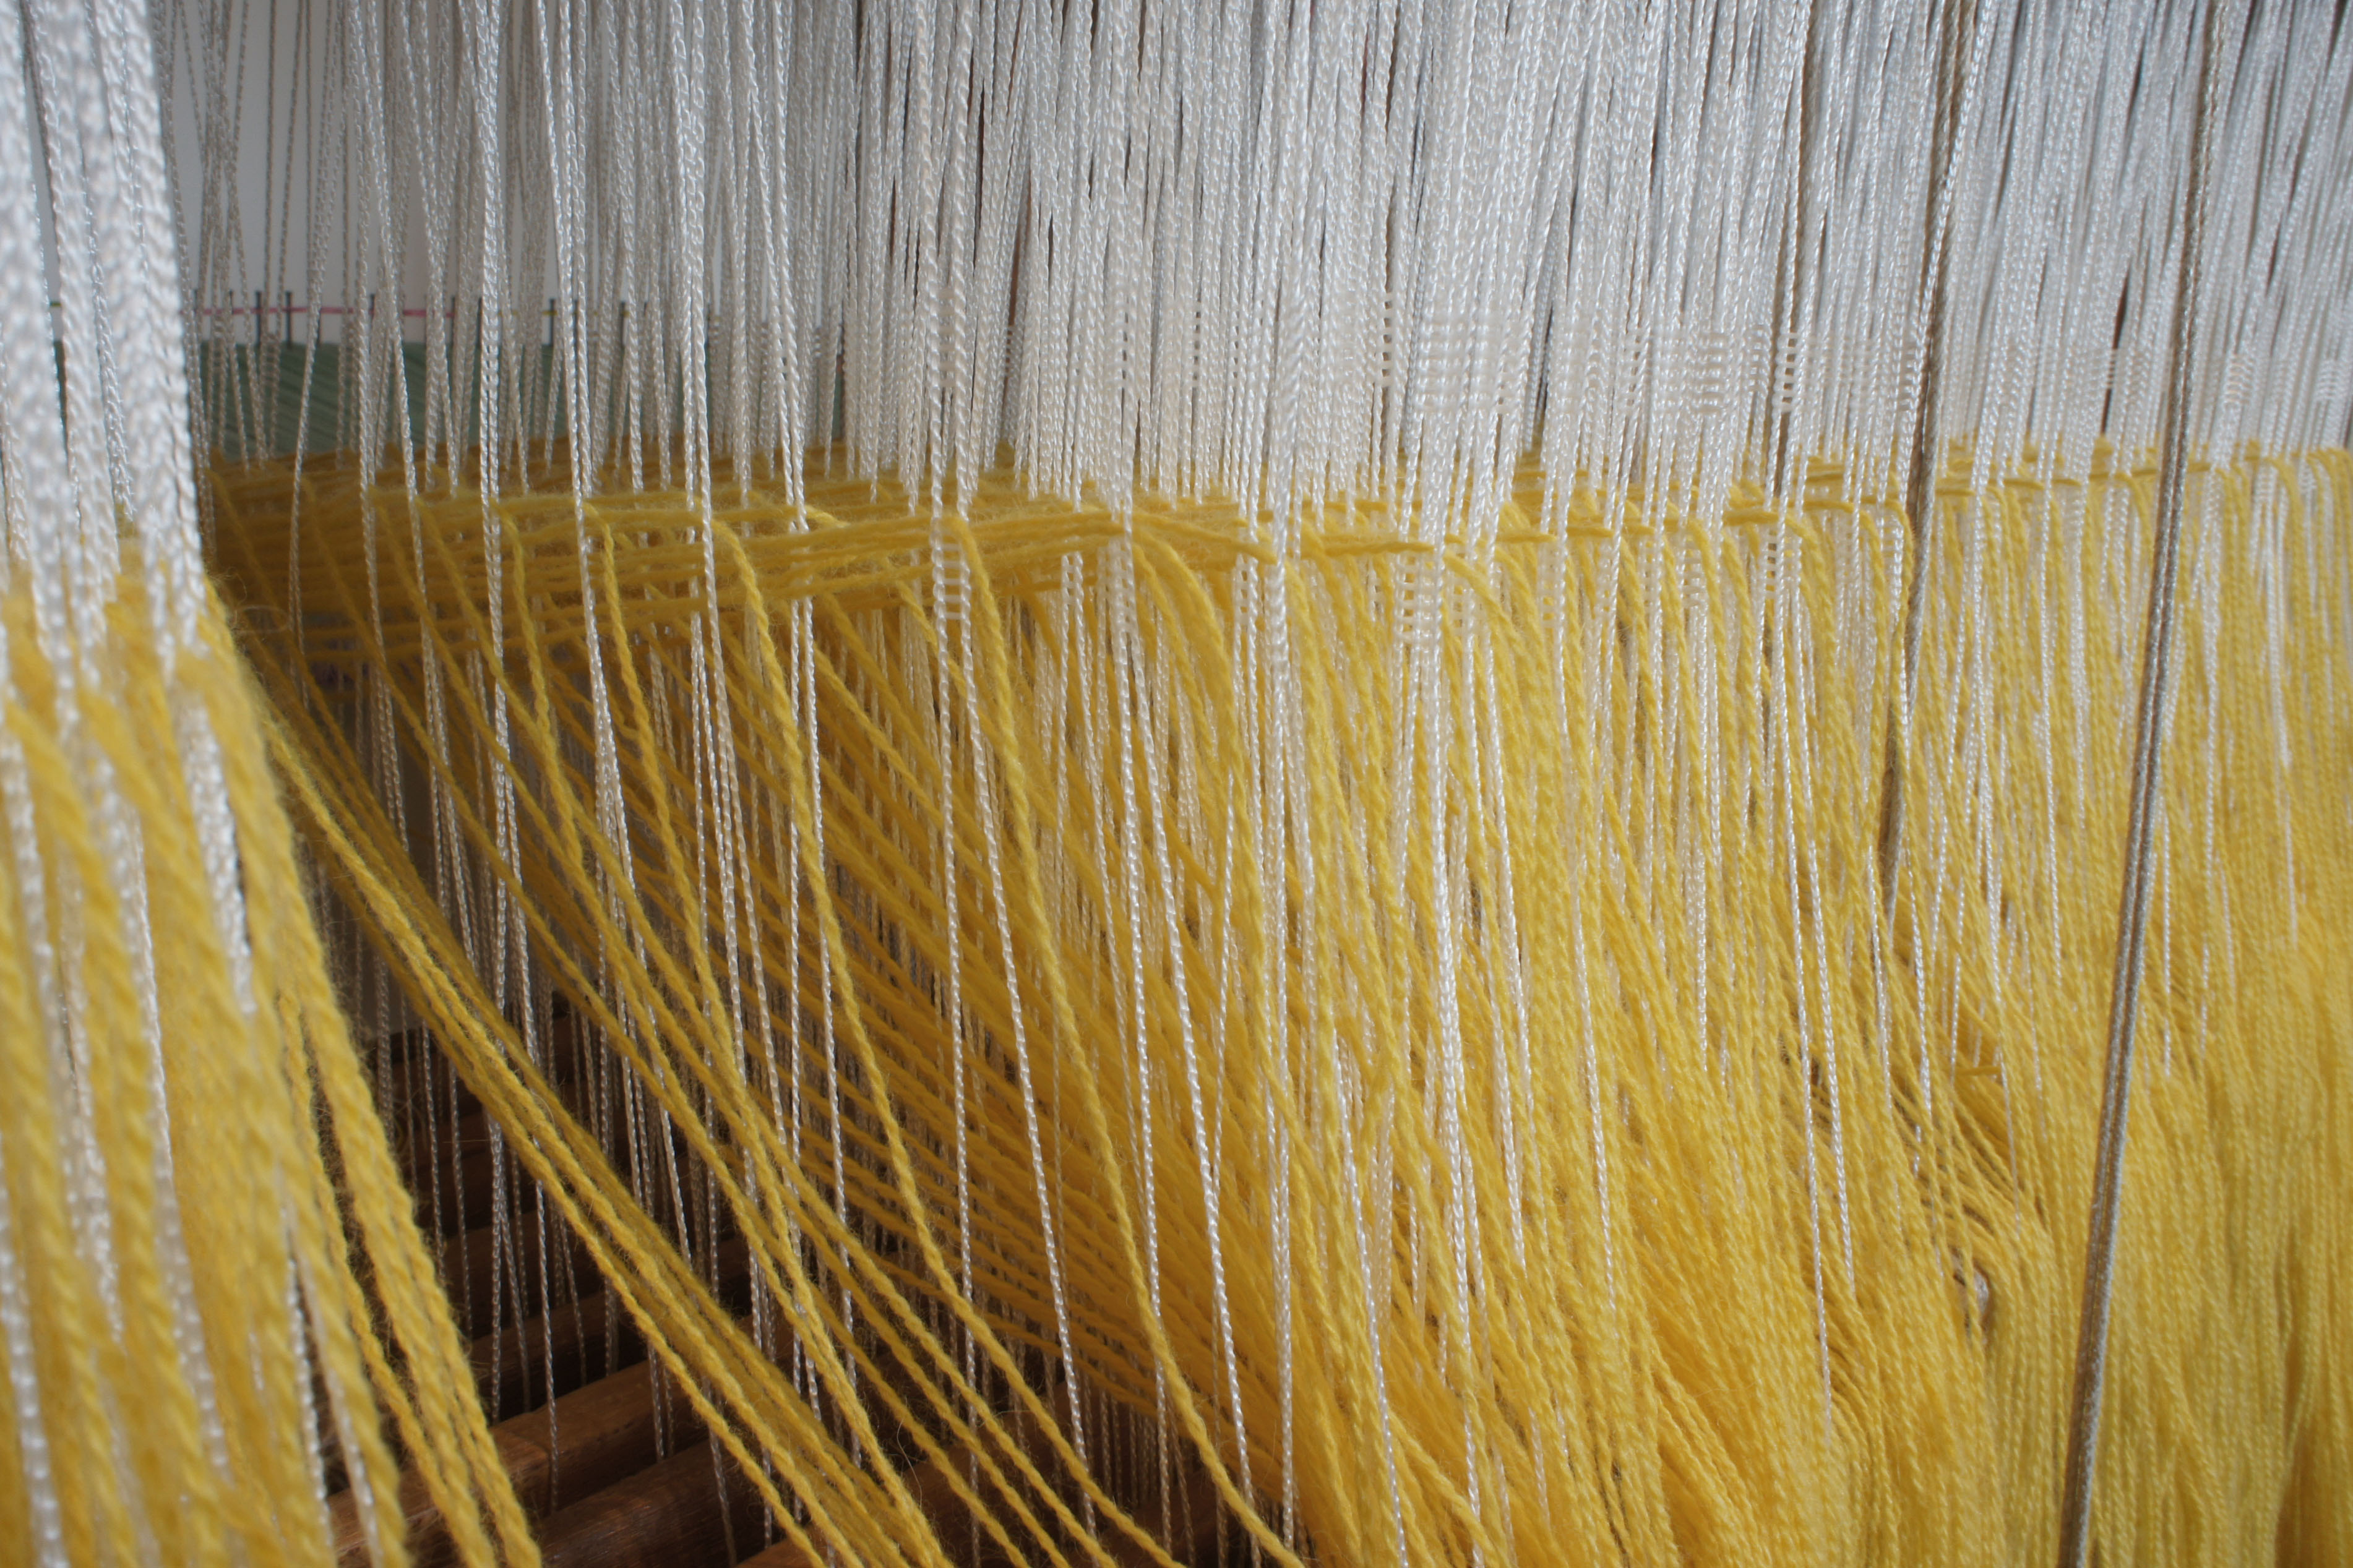
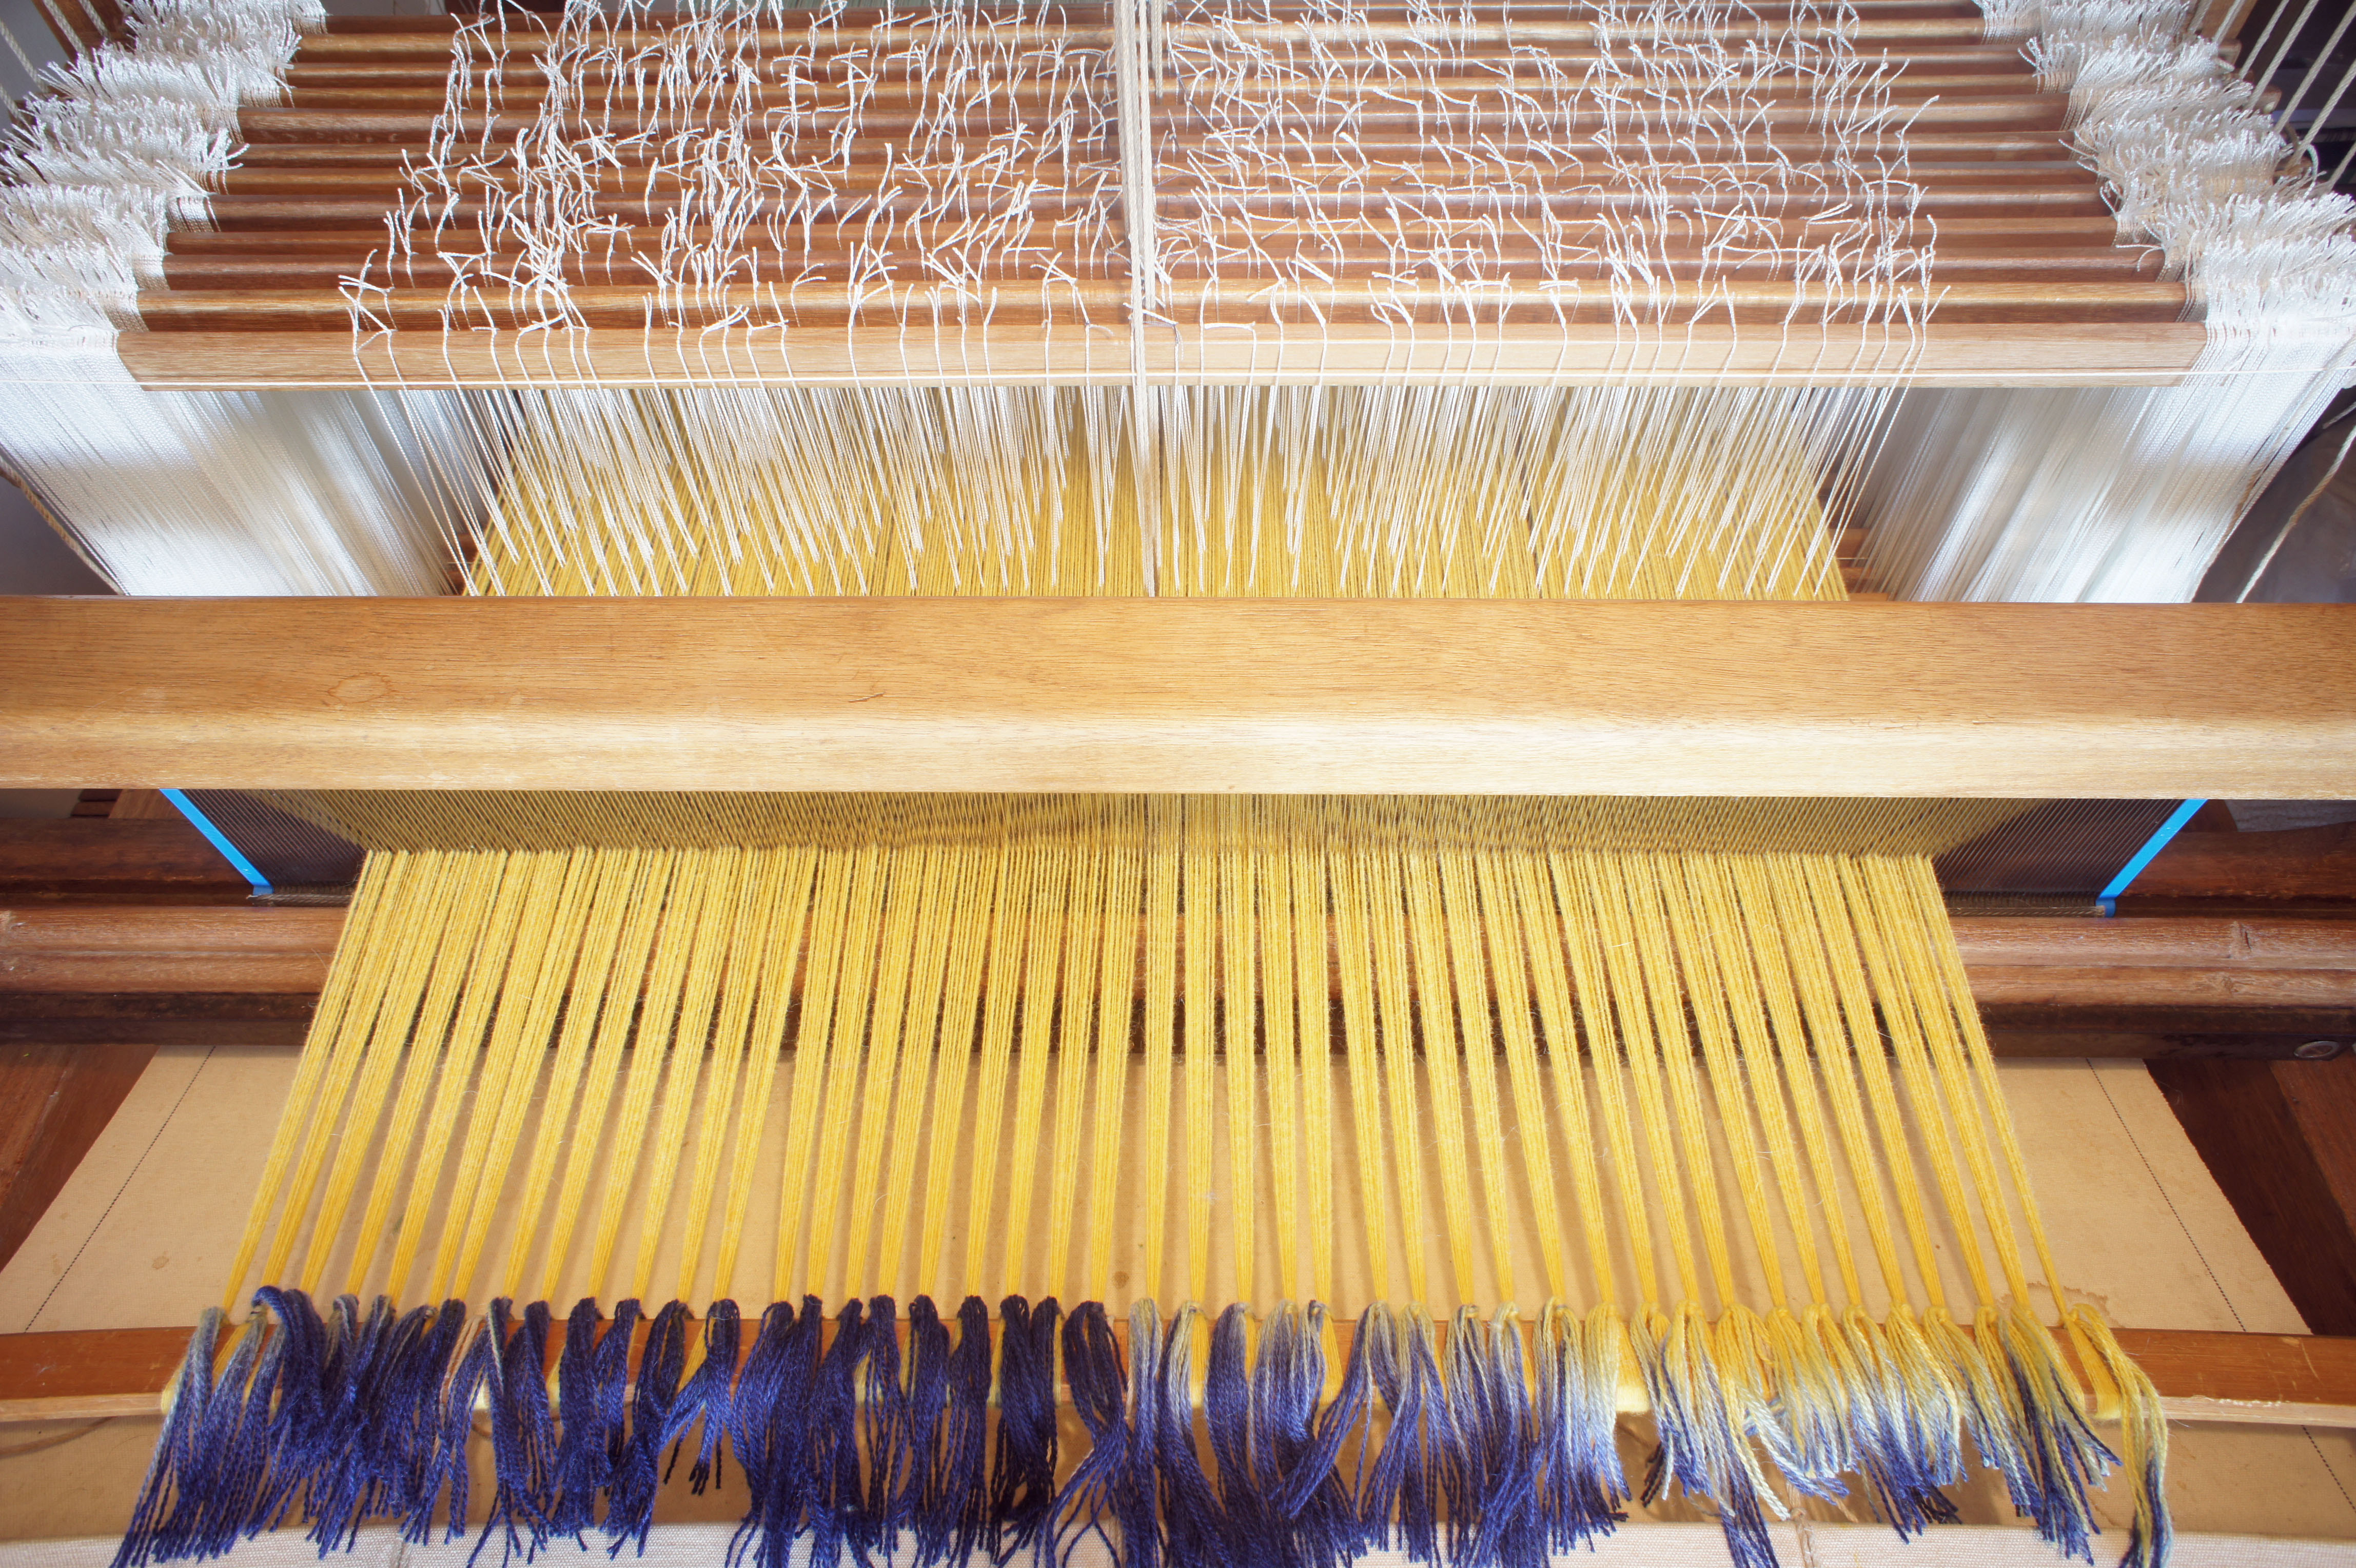
Each individual thread is then put through a separate heddle, for my handwoven teddy bears there can be around 800 threads. Heddles are pieces of polyester thread which have an eye like a needle in the middle. Each of thread needs to be threaded in a certain order and through a particular heddle. This controls the types of patterns that will be handwoven on the loom.
Warp threads threaded through heddles
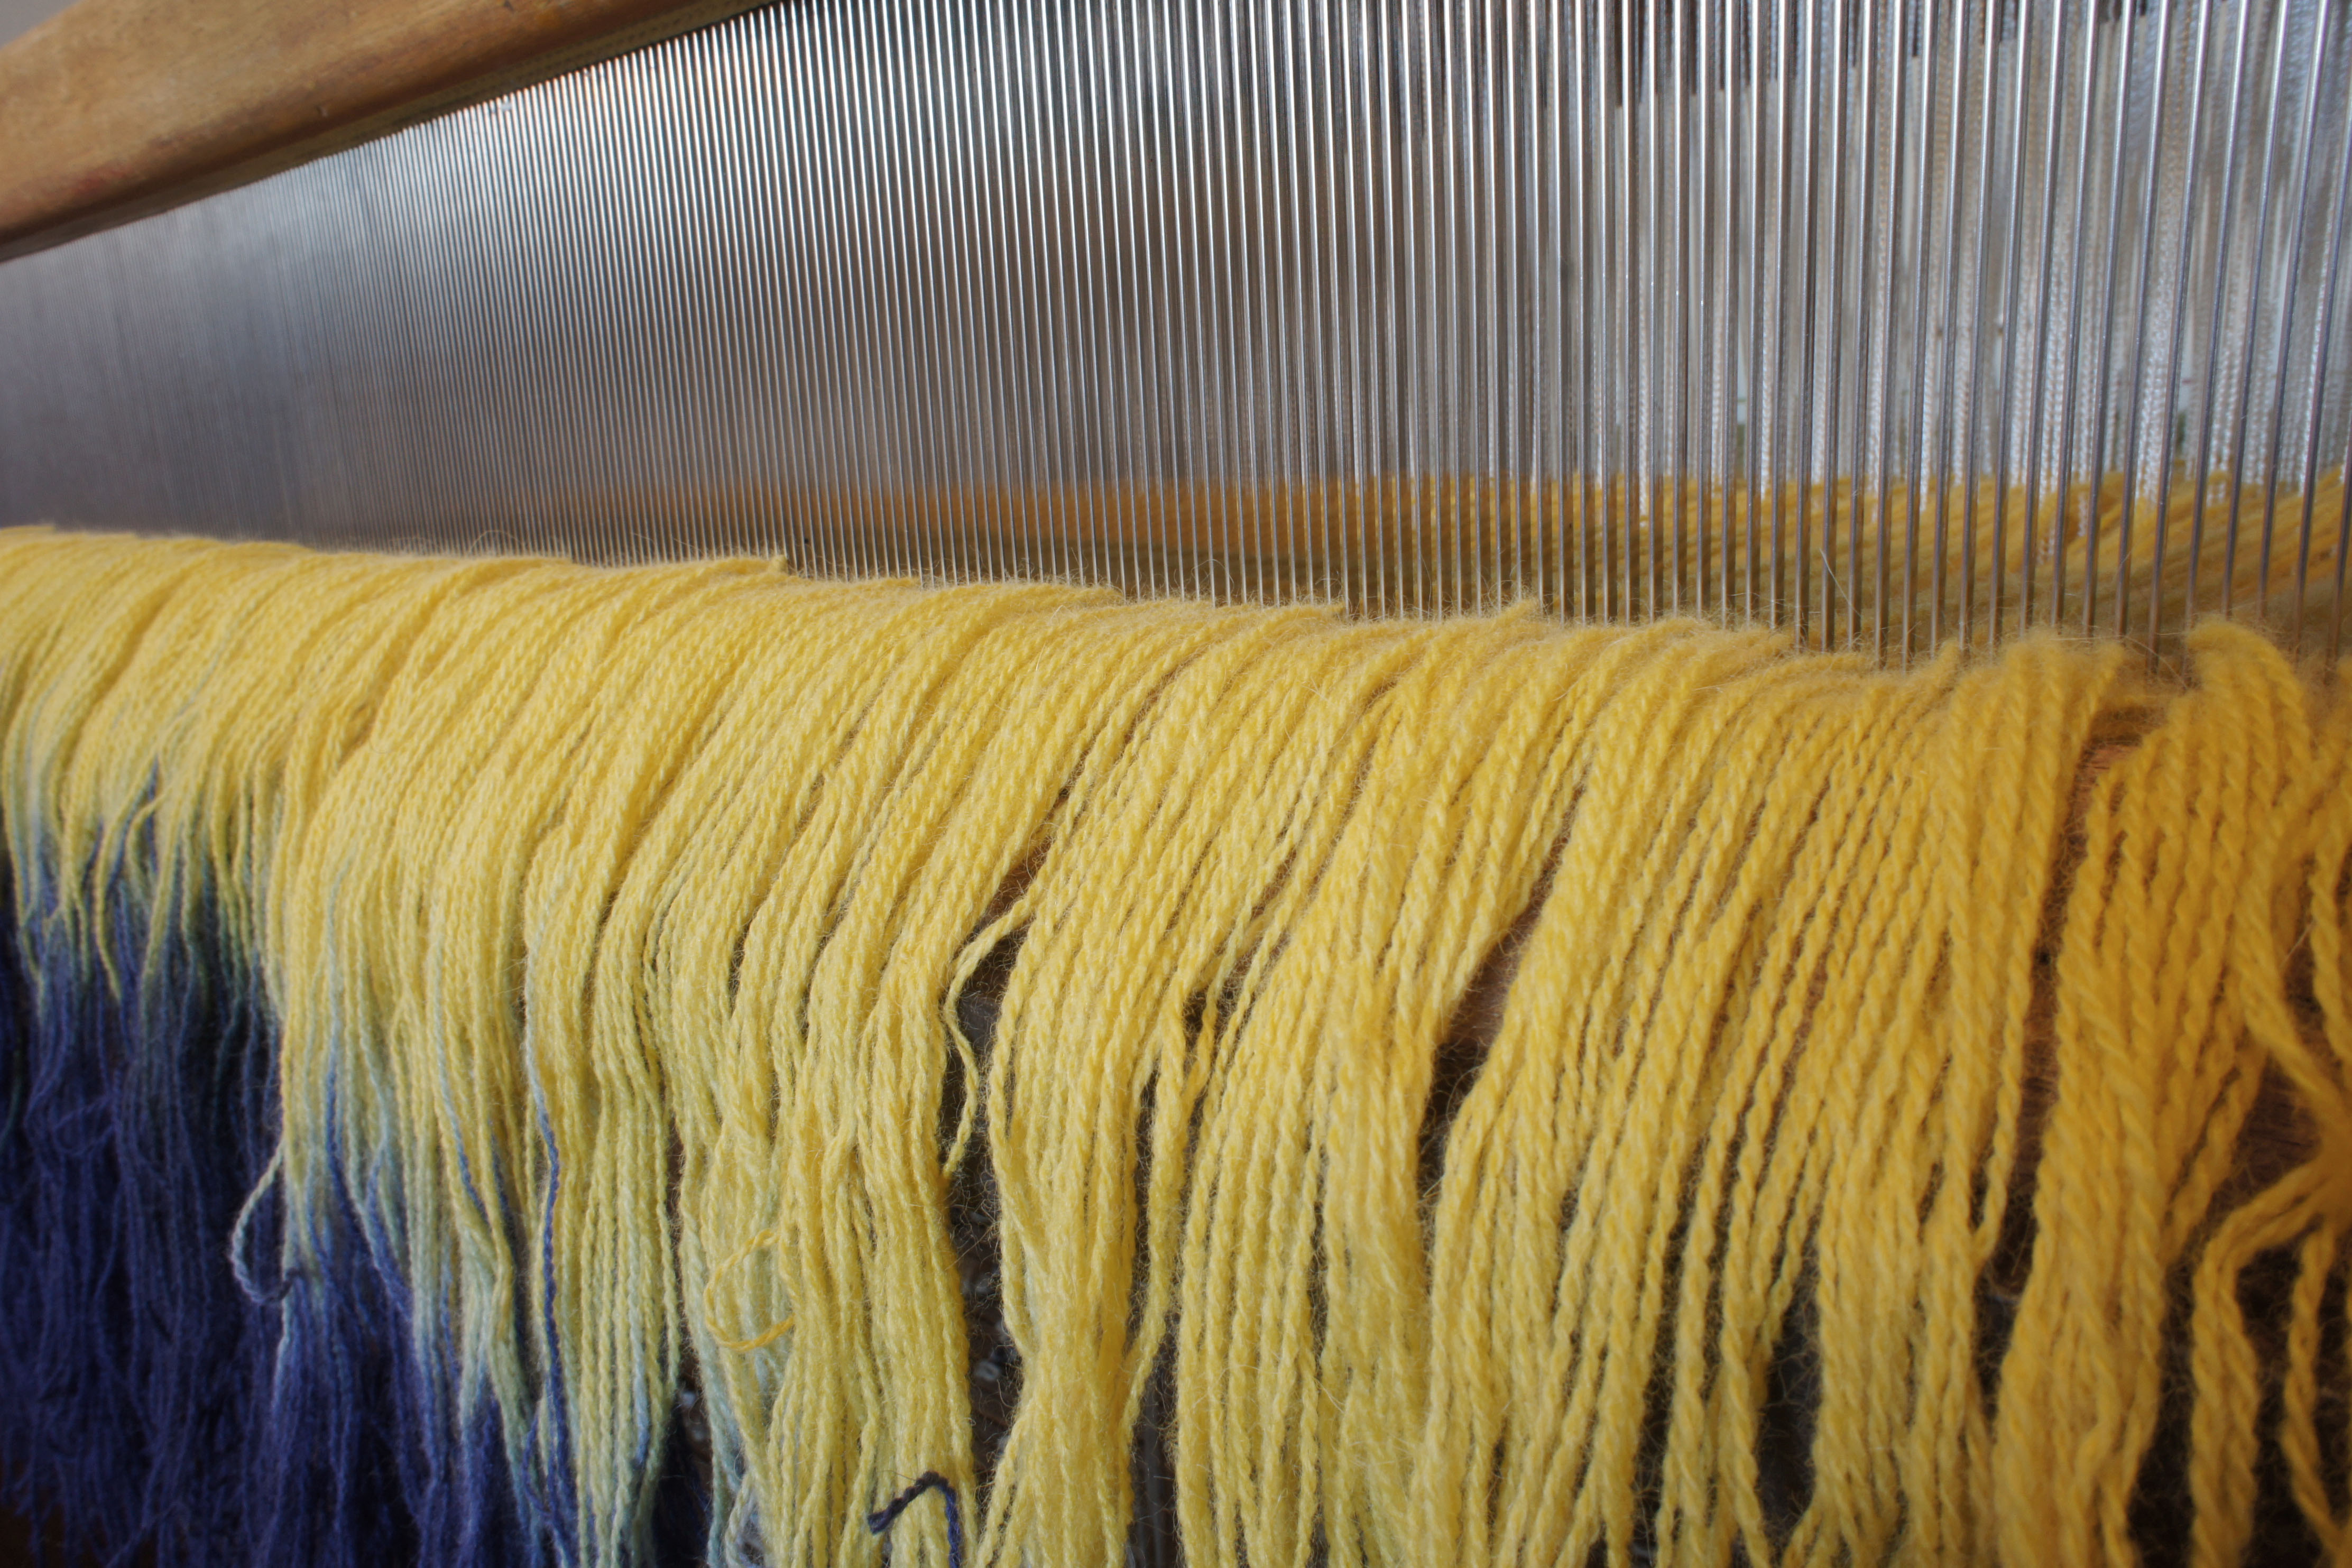
It is really important that when I weave my fabric for my teddy bears the threads are distributed evenly across the width of the fabric, and not too close together or too far apart. This is set using a reed which has a certain number of gaps per inch. A set number of threads is put through each of these gaps, usually two or three.
Warp threaded through reed
The other end of the warp is then tied on to a rotating beam at the front of the loom. The tension of each and every thread must be the same to avoid problems when weaving.
Warp tied to fron beam
I will then have my set of threads (the warp) tied from the back of the loom to the front of the loom under tension, threaded through the heddles and reed. These form all of the vertical threads in my final fabric. At this point I am ready for weaving.
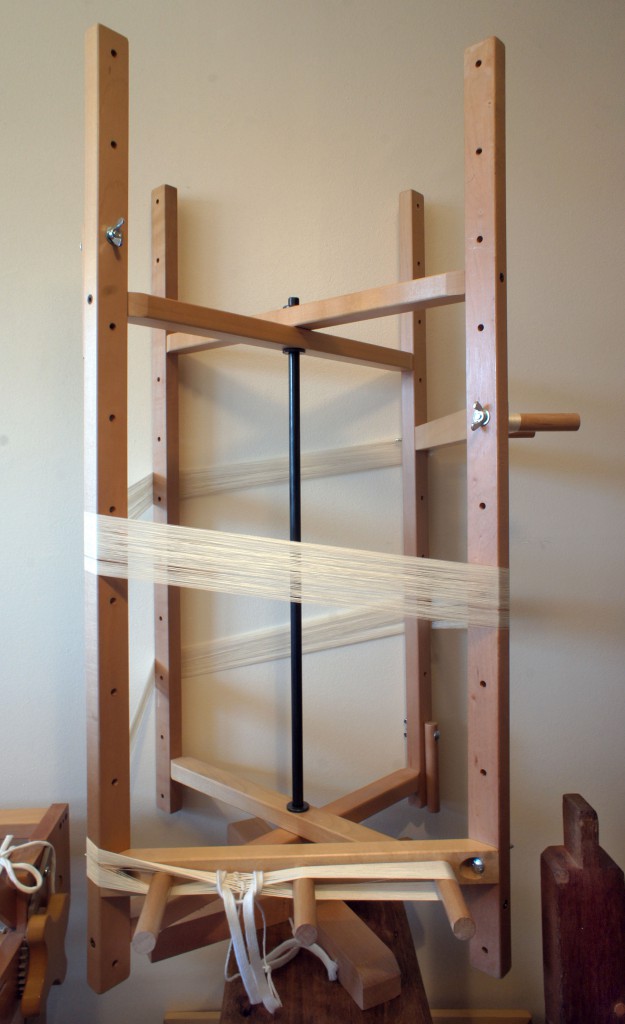
The set of threads that travel from the front of the loom to the back is called a warp. This needs to be made separately before it is placed on to the loom and this is what I am going to talk about in this post.
The warp sets the length, width and density of the fabric. It makes up half of the threads within the finished woven fabric as it will become all of the vertical threads in the finished woven fabric.
Warp being wound on warping mill
Before making the warp I have to decide exactly how much fabric I need to weave, the length and width. Normally I will weave several pieces of fabric from one warp so this needs to be planned first. The density of the fabric needs to be worked out which is the number of threads in every cm of fabric. This is very important because if the fabric is too open then it will not hold together when being made into a teddy bear and if it is too dense then the colours of the yarn will not show evenly in the finished hand woven fabric.
Threads being organised and counted into groups on the warping mill
I make my warps on a warping mill which allows me to organise the right number of threads in to the length required. The number of threads varies and can be up to 800 for my teddy bears.
Depending on the thickness of the yarn and the length/width of the fabric to be woven this often takes between one and half and three hours to complete.
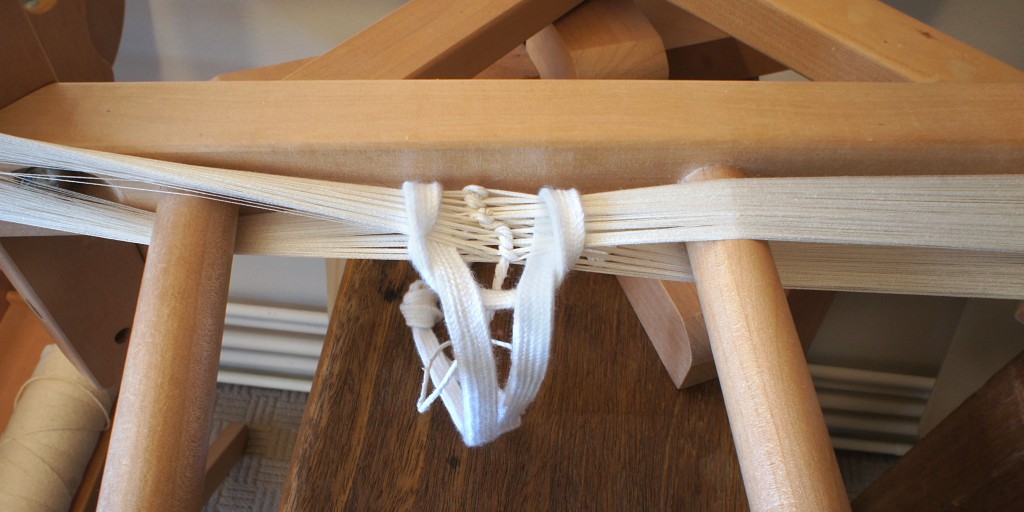
Once complete the warp is removed from the warping mill and chained (see image below) to ensure it does not tangle. This is now ready for the loom.
People always ask me how I make my handwoven teddy bears so I am doing a series of blog posts explaining just that.
Making each teddy bear can be a long process which takes approximately 20 hours per bear to make.
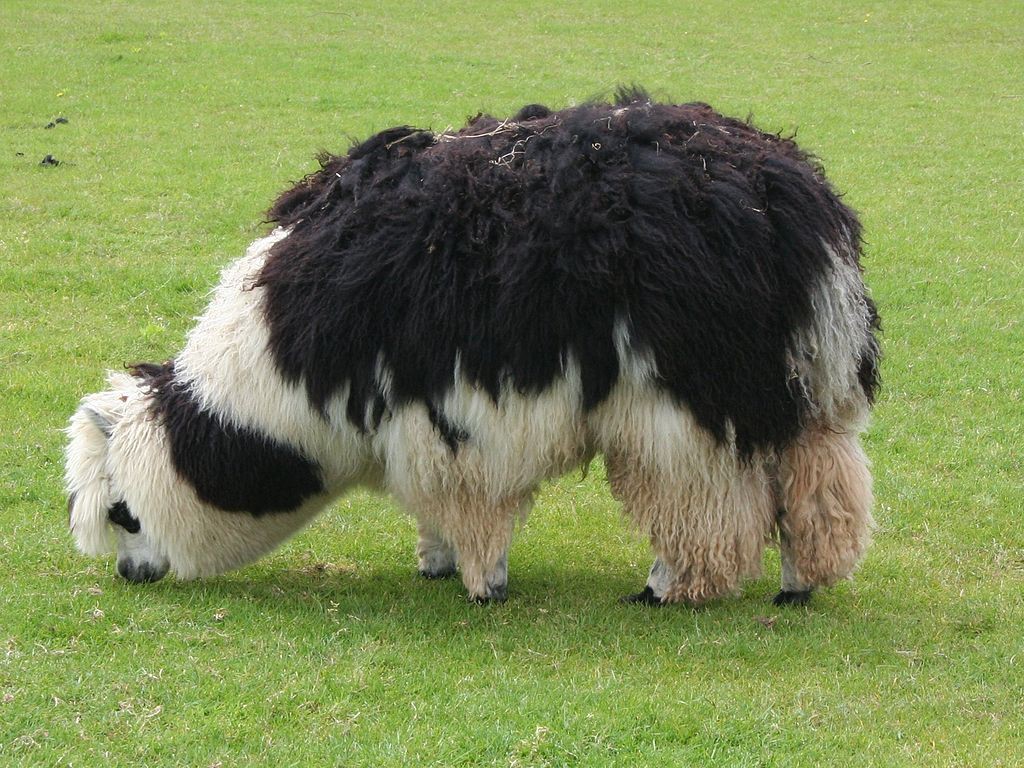
The first step, before weaving commences, is to decide what sort of fabric to weave and what the teddy bear will look like. There is a huge selection of yarn to choose from and getting the right one is important as it will determine the whole look and feel of the finished teddy bear. Some of the yarns I use include worsted wool, alpaca, silk and Tencel.
Alpaca
Before I start I ask myself a list of questions; What yarn will I use? What colours will it be? How much fabric will I need? What structures will I weave? What is the final handwoven teddy bear going to look like?
Inspiration for the bears can come from anything around me, it may be a pattern I see in nature or colours from a trend magasine. I also do commissions where the design of the bear is customer lead.
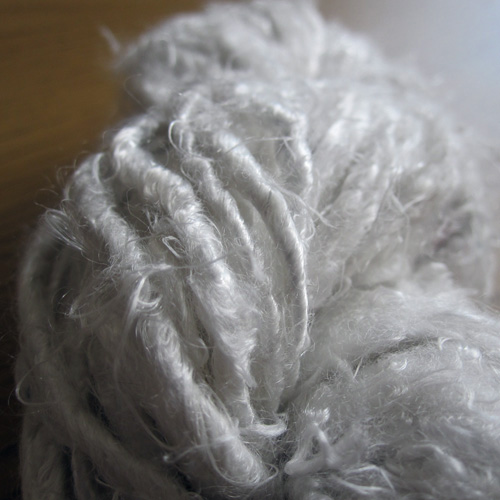
Banana Yarn
I hand-dye a lot of my yarn so that I can get precise colours, each new colour needs to be tested and documented. Sometimes it can take three or four attempts to get the correct shade or hue of colour.
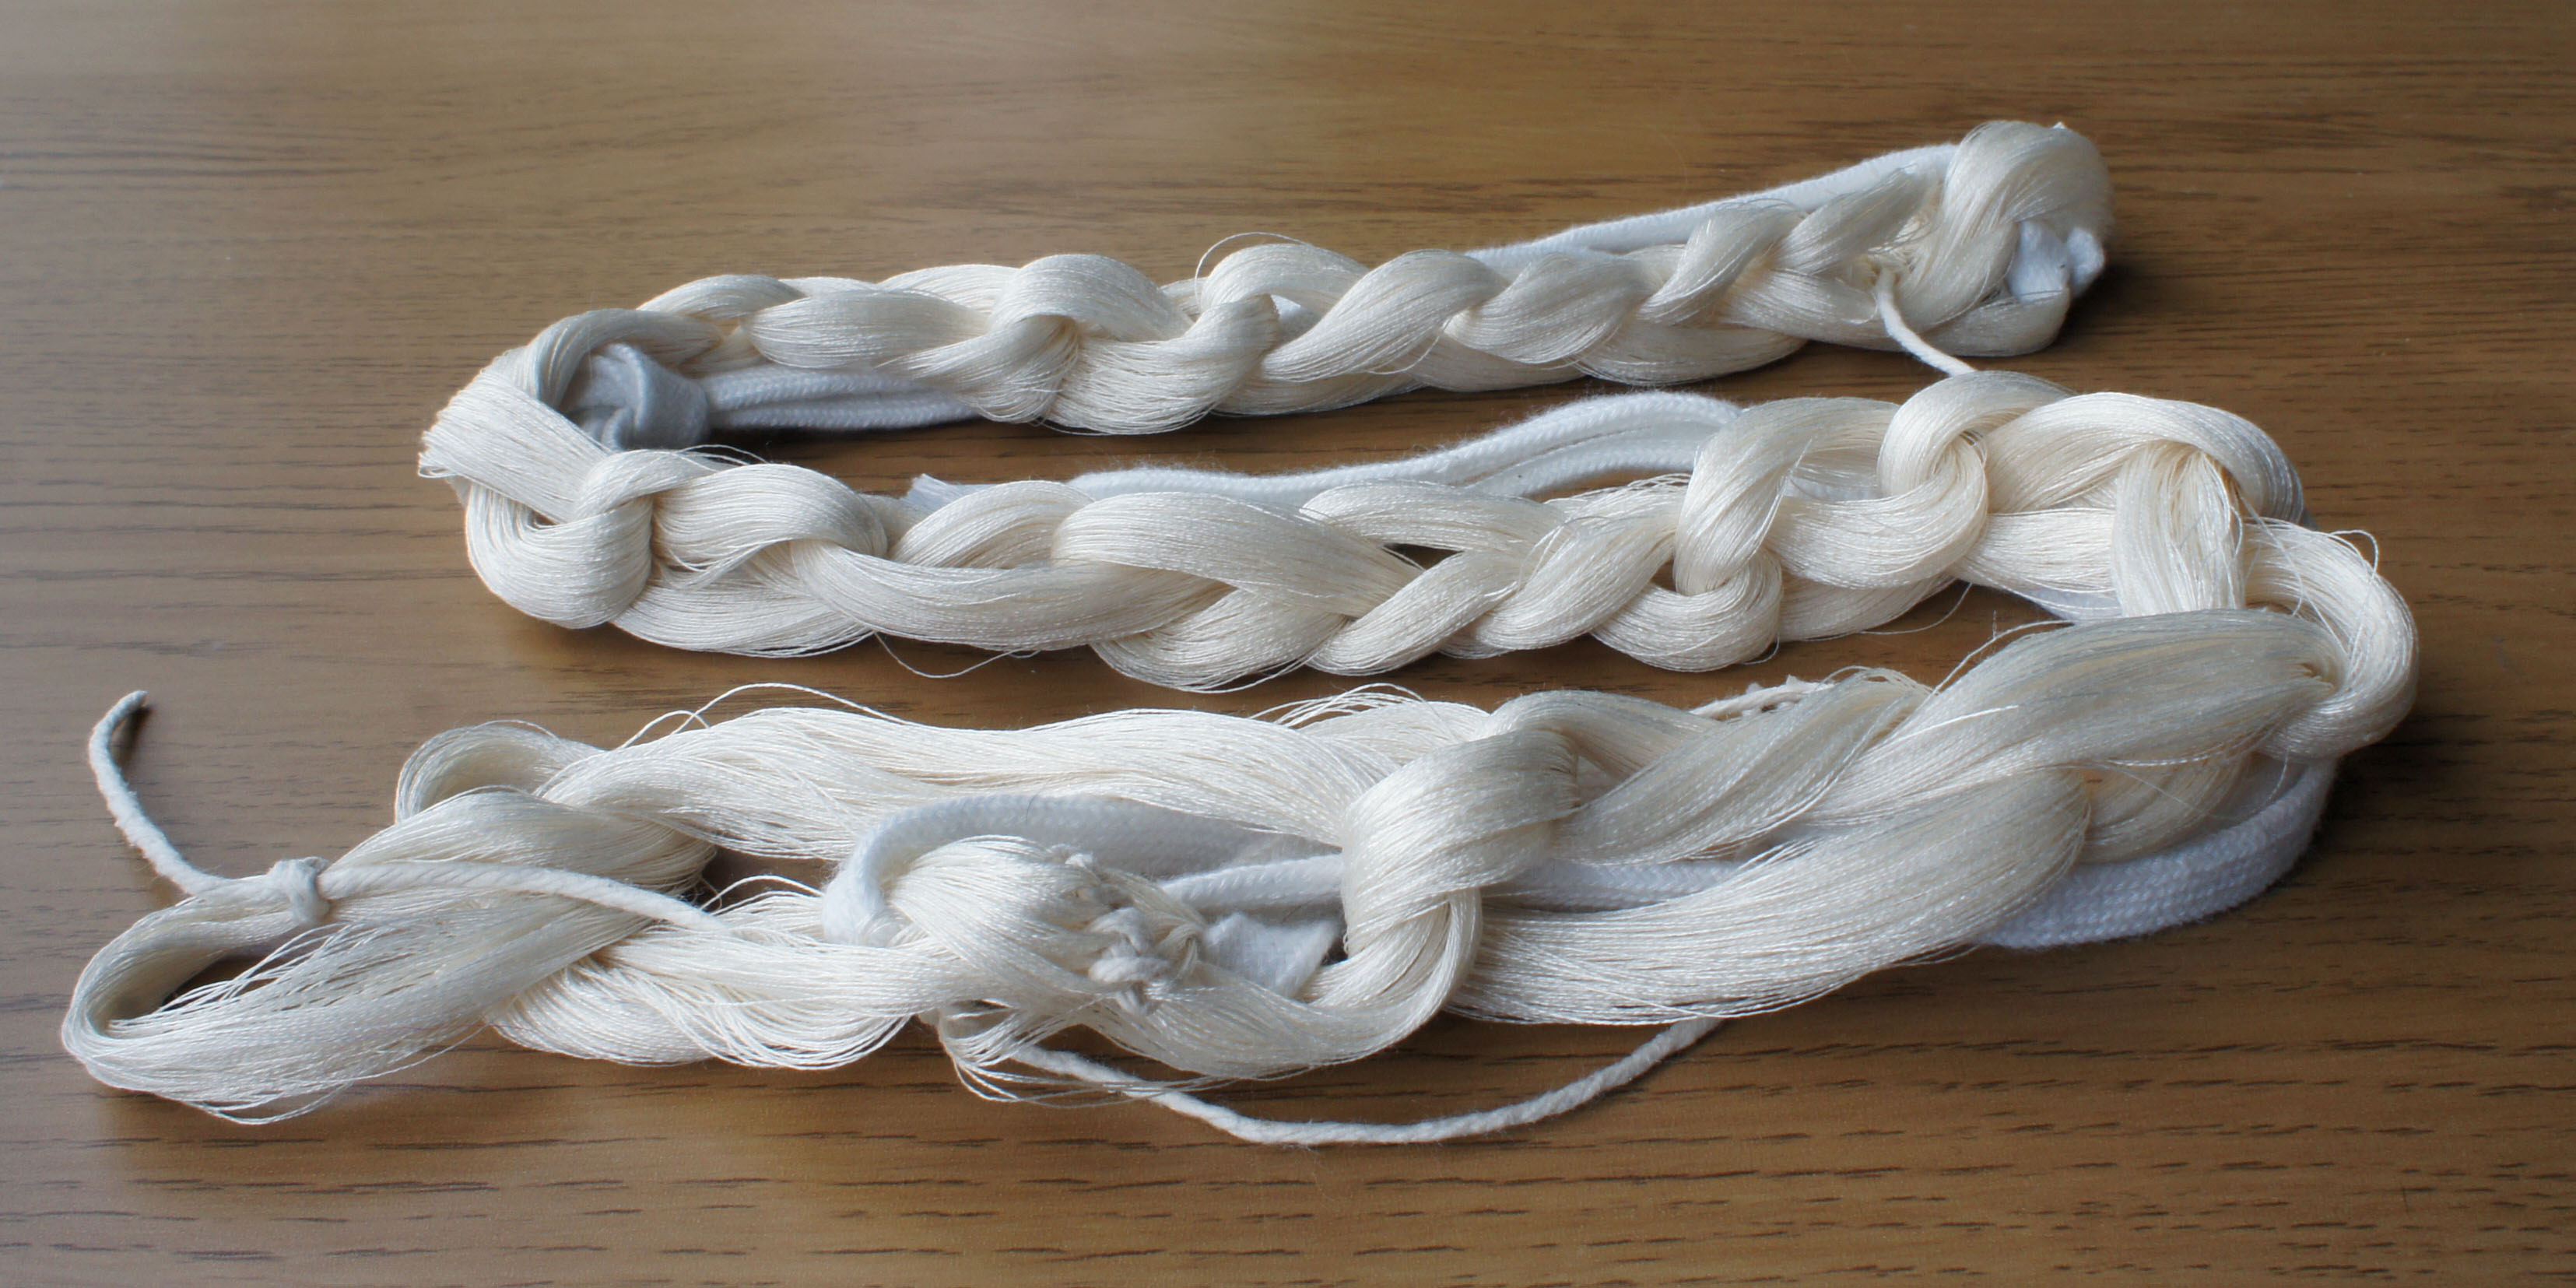
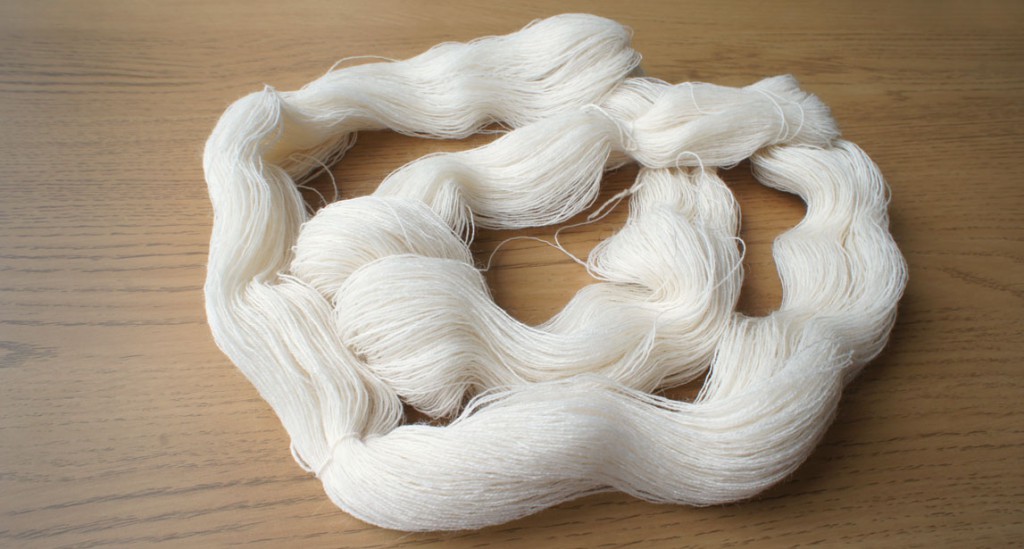
When I am ready to dye the yarn for the handwoven fabric I accurately work out how much I need and arrange the yarn in to skeins (large rings of yarn) which enables me to dye the yarn evenly.
Skein of yarn ready to be dyed
The yarn is scoured/washed before being dyed to remove any natural oils or coatings. Depending on the type of yarn this may involve washing with a detergent or boiling the yarn.
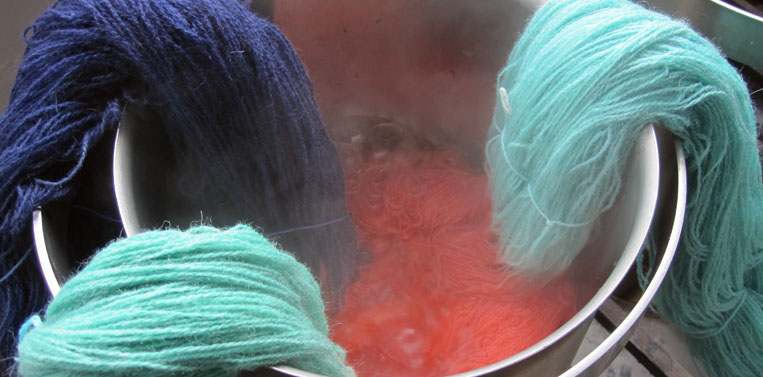
The dyeing process is different for the different types of yarns but takes anything between one to two hours plus drying time. There are various ways of applying the dye and the most common method I use is creating a dye ‘bath’ made up of dye powder and fixing chemicals which the yarn is immersed into.
Other methods include dipping different areas of the yarn into different colours to create a graduated effect, tying areas to resist the dye or painting the dye on to the yarn using a brush.
Geelong lambswool/angora mix yarn being dip dyed multiple colours.