by katie | Mar 23, 2018 | Blog, Weave Blog
What are yarn counts
Yarn counts can be a confusing topic but it is a useful piece of information.
The yarn count tells us the thickness and ply of the yarn. All yarn has a yarn count although this is not so obvious in some yarns such as knitting yarn which are often described in words e.g. double knit etc.
Counts are expressed as two numbers separated by a forward slash followed by the count system abbreviation e.g. 16/2 nm, 2/16wc etc. One number is the count, this tells us the length of yarn for a given weight of each individual strand of yarn. The other (usually smaller number) tells us how many strands of yarn have been plied together.
Some counts may be expressed with the ply number missing e.g. 16 nm. When a count is expressed like this it is assumed the ply is 1. Generally, the larger the number the finer the yarn.
The twist is not measured within a yarn count as each manufacturer sets this themselves. The twist of a yarn is sometimes expressed separately as twists per inch (tpi) or twists per metre (tpm).
Different measuring systems
There are many different systems used for measuring yarn. I am just going to cover the most common ones in this post.
| Count system | Yarn | Definition |
| Cotton count (cc or ne) | Cottons | 840 yards/pound |
| Worsted count (wc) | Wools | 560 yards/pound |
| Linen count (lea or nel) | Linen | 300 yards/pound |
| Numero metric count (nm or mc) | Silks | 1000 meters/kilo |
Although the different systems are commonly used for specific yarns they are often used for other types of yarn too. The numero metric count is particularly used across different yarn types.
Imperial counts (cc/wc/lea) are written ply/count
Metric counts (nm) are written count/ply
Working out the yards/pound or meters/kilo
When you know the count of a yarn this enables you to work out how many metres/yards you have per kilo/pound of that particular yarn. To work this out you multiply the number of yards/meters per pound/kilo by the yarn count. Then divide this by the ply. See the table and example below:
| Cotton count | yards per pound = (840 x count) / ply |
| Worsted count | yards per pound = (560 x count) / ply |
| Linen count | yards per pound = (300 x count) / ply |
| Numero Metric count | metres per kilo = (1000 x count) / ply |
For example:
16/2 nm
m/kg = (1000 x 16) / 2
8000 m/kg
2/12 cc
y/lb = (840 x 12) / 2
5040 y/lb
When yarn is plied there is a little bit of take up so the amounts may not work out exactly but in thinner yarns this is negligible.
Being able to do this calculation is useful because it enables you to work out how much yarn you are going to need for your project.
It is also useful to be able to convert between the two:
y/lb to m/k multiply by 2.016
m/k to y/lb multiply by 0.495
(these are rounded to three decimal places)
For example:
5040 y/lb x 2.016 = 10160.64 m/kg
To convert directly between metres and yards use the following calculation:
metres to yards – multiply by 1.09
yards to metres – multiply by 0.91
Twist and Ply
by katie | Mar 10, 2016 | Blog, How I make my hand woven teddy bears
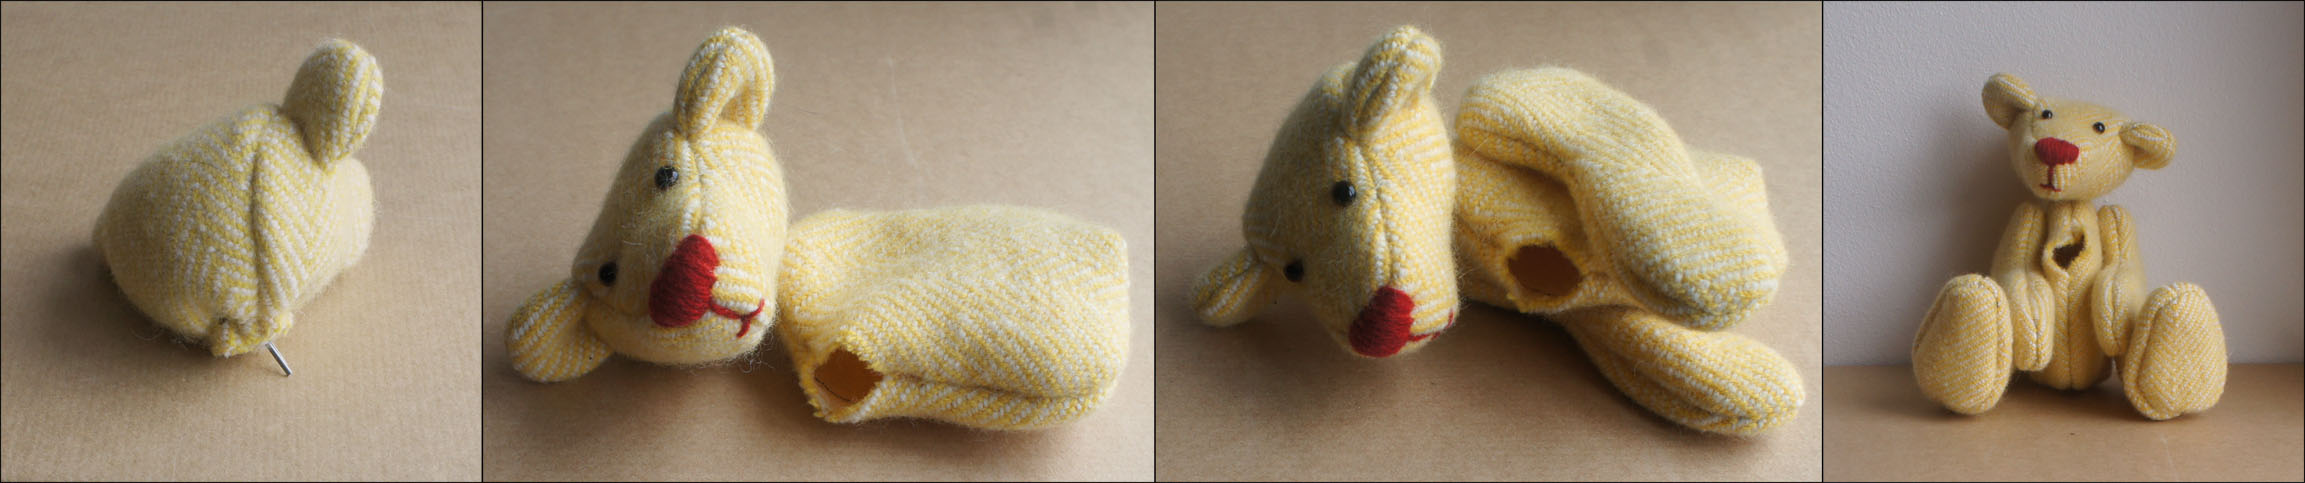
This is the final post in my blog series, I will show you how I stuff and finish my hand woven teddy bears.
The head is the first bit I stuff and use a fibre filling. I cannot use glass beads as with the rest of the bear because the head droops with the weight. Once it has shape I then work on the hand stitched nose and glass eyes. These need to be placed precisely to create a cute and appealing face.
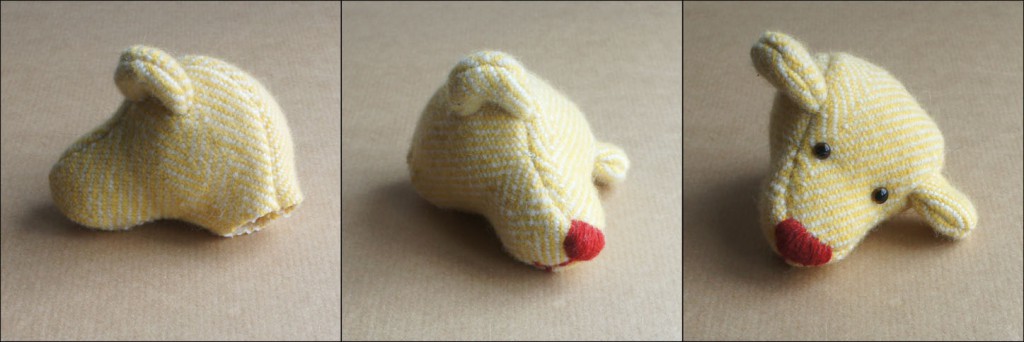
When the head is finished it is then closed up, using a ‘drawstring’ technique. At the same time the first half of a cotter pin joint needs to be trapped inside. Cotter pin joints join all of the body parts together and allow them to move.
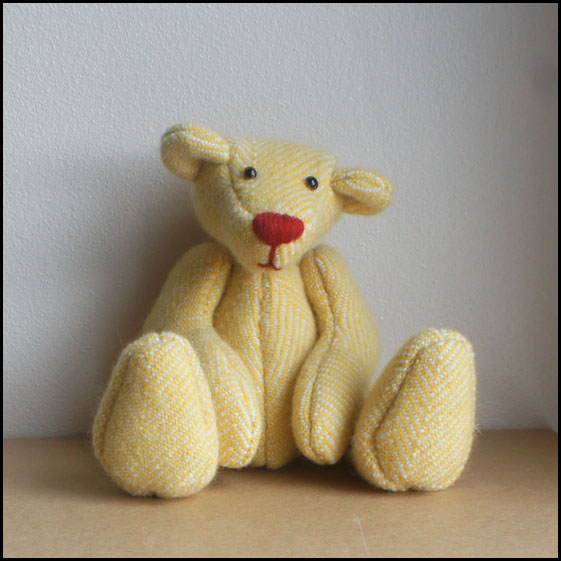
The body, arms and legs are then all joined, but not stuffed, using four more cotter pin joints. As the joints are put in place it is important to get them tight but not so tight that it stops movement, so some adjusting is usually needed.

The body, arms and legs are then stuffed and then hand stitched closed. I use small glass beads to stuff the body parts as it gives the teddy bear a beautiful weight and feel.
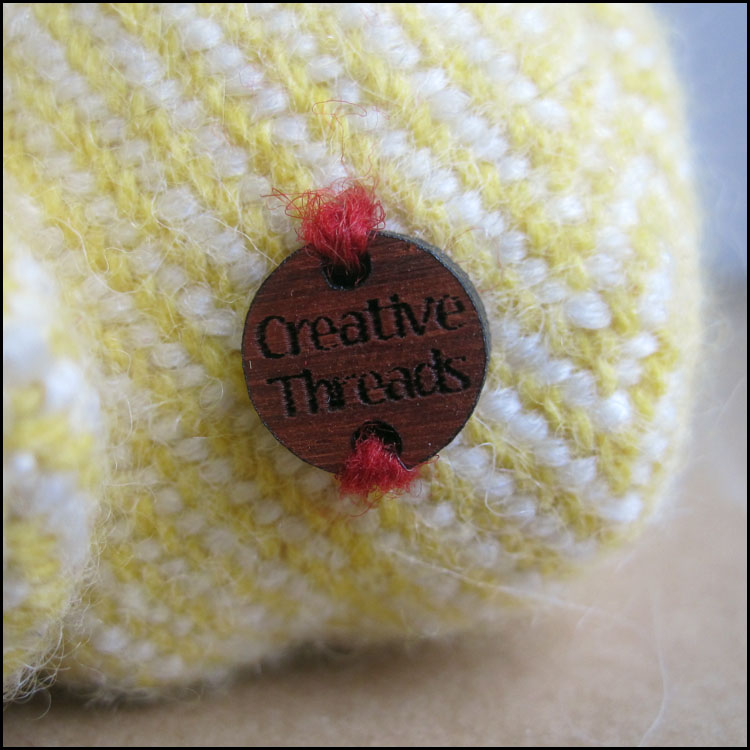
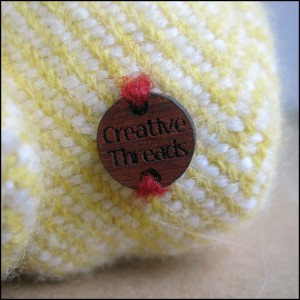
Finally, each teddy bear has a Creative Threads button of authentication sewn on.
I hope you enjoyed reading about how I make my hand woven teddy bears. If you would like to see any of the posts again they can be found here.
by katie | Mar 4, 2016 | Blog, How I make my hand woven teddy bears
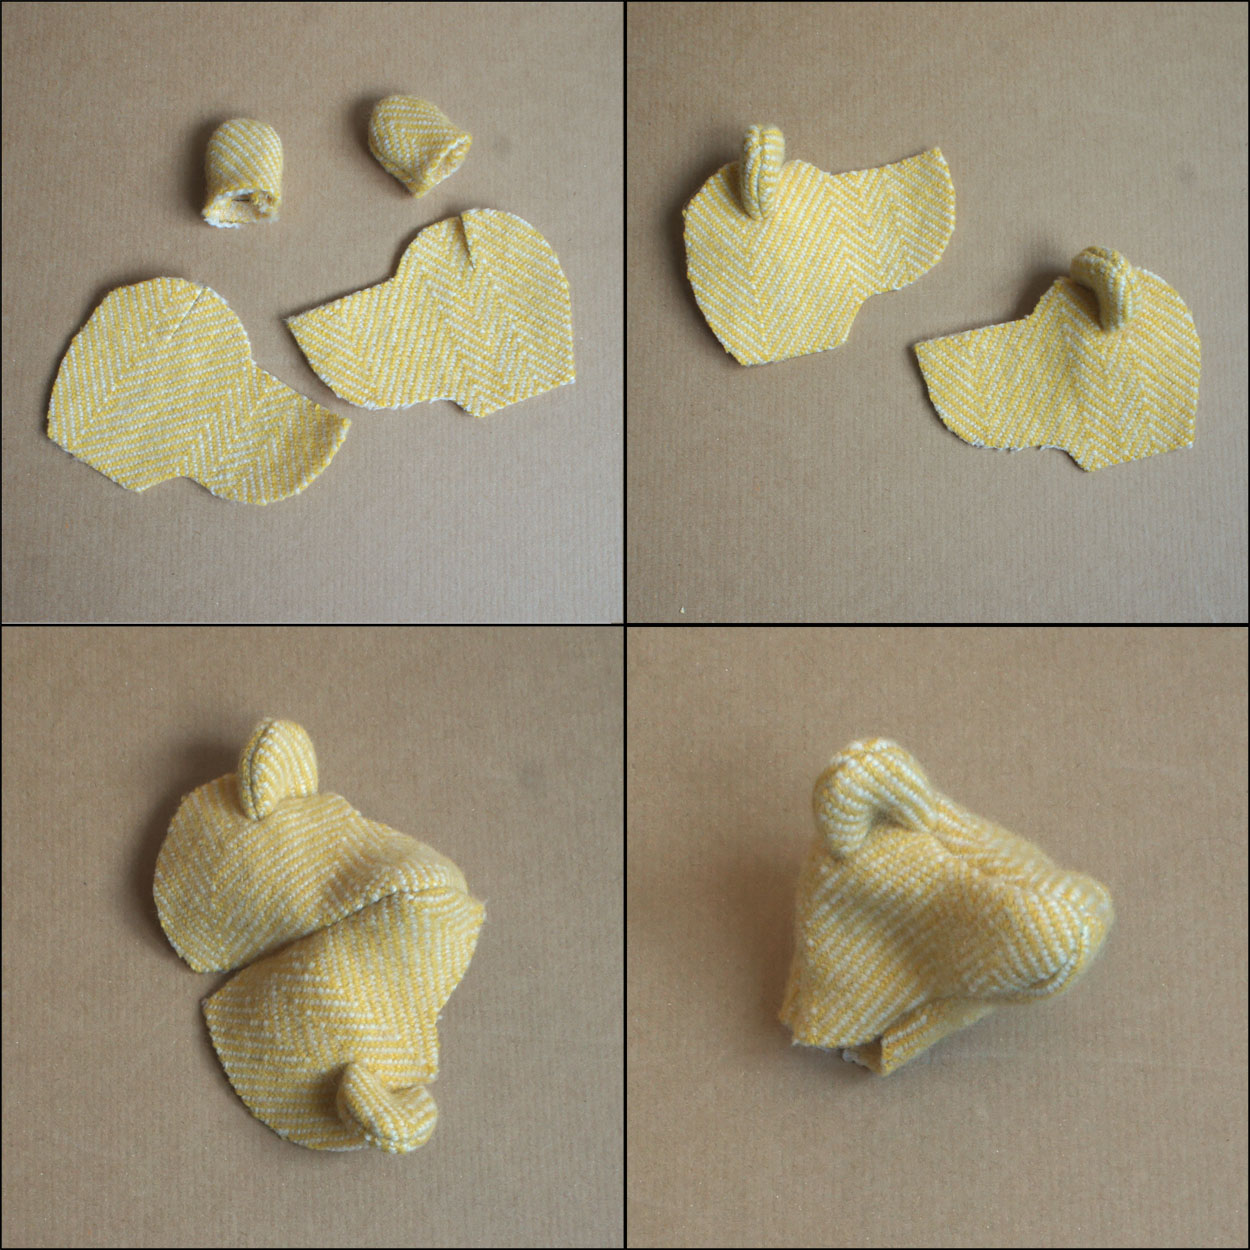
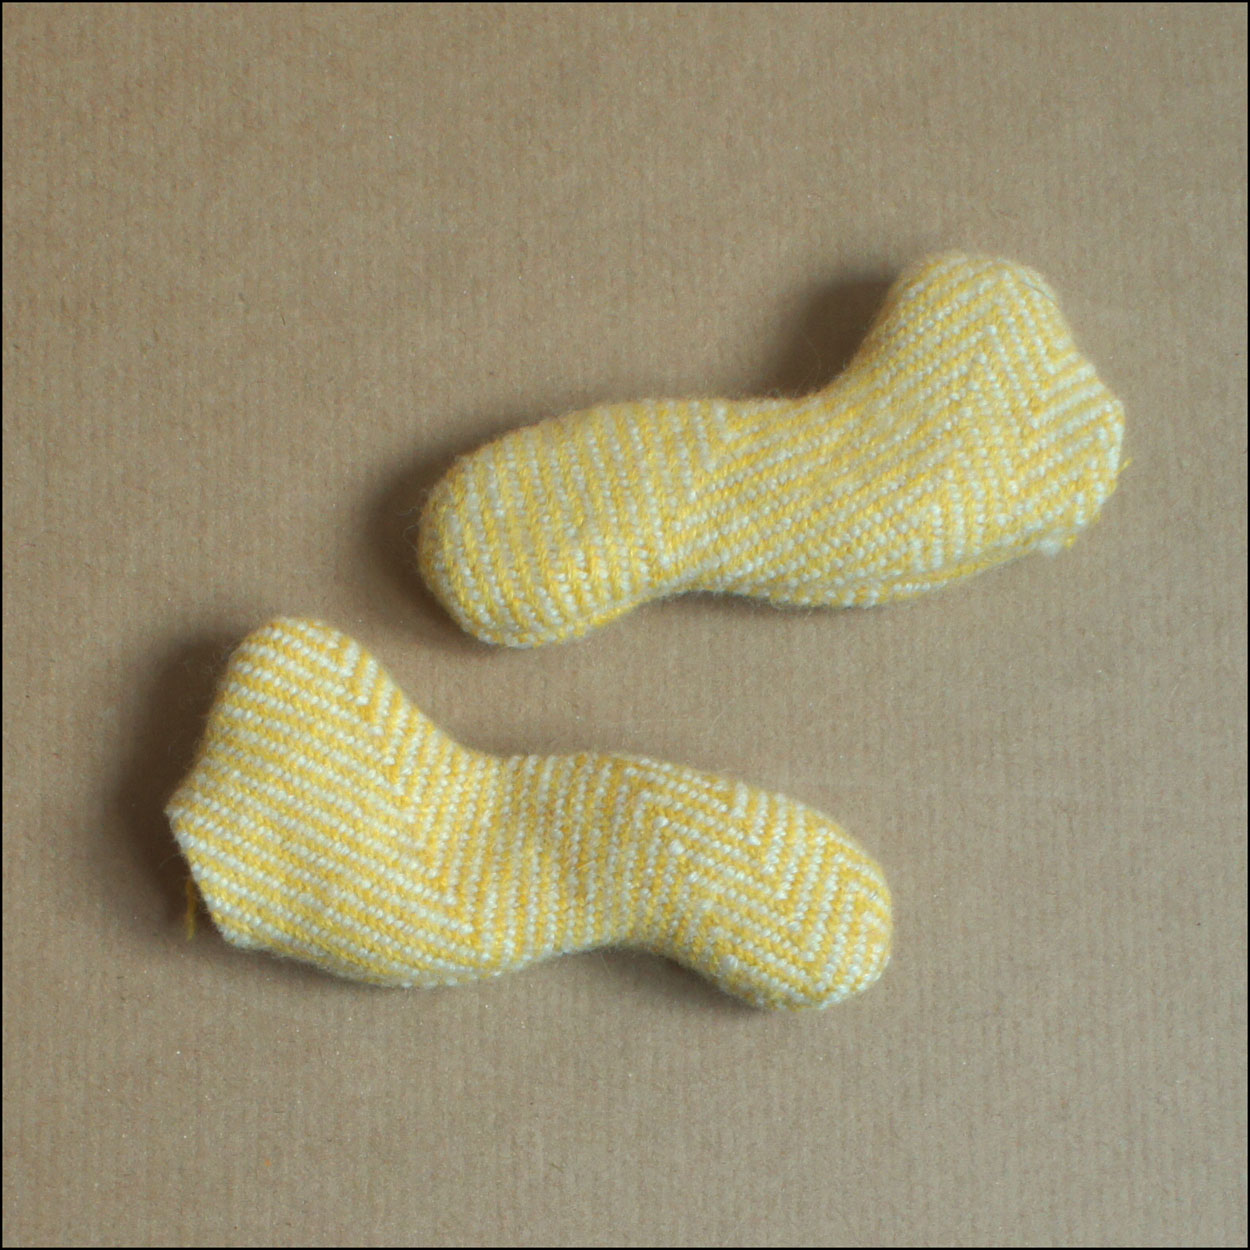
In this post you will see how the hand woven teddy bears start to take a three dimensional shape as I hand stitch the pieces together.
Due to the small size and shape of the teddy bears they all need to be sewn entirely by hand. I have tried sewing them using my sewing machine and although my it has great speed control it does not allow me to be accurate enough as I cannot see both sides at once and adjust the fitting.
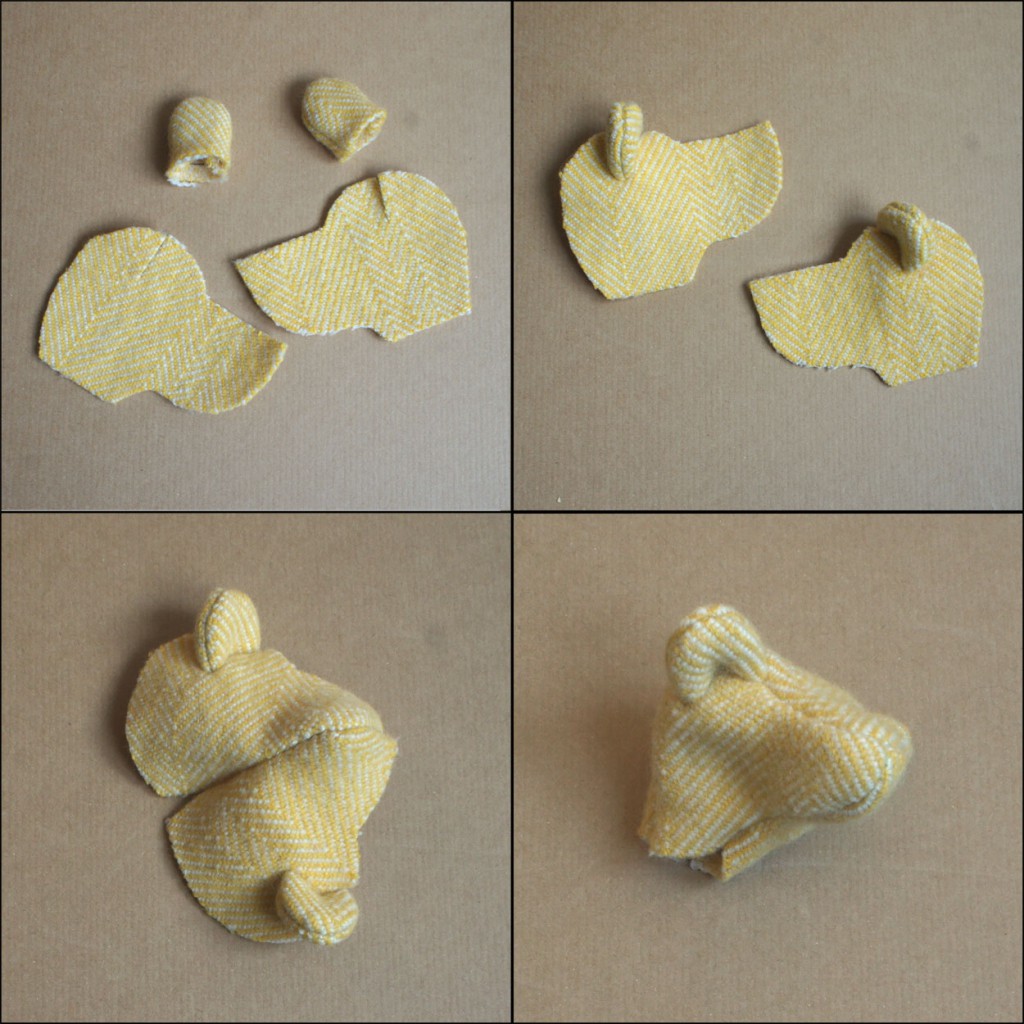
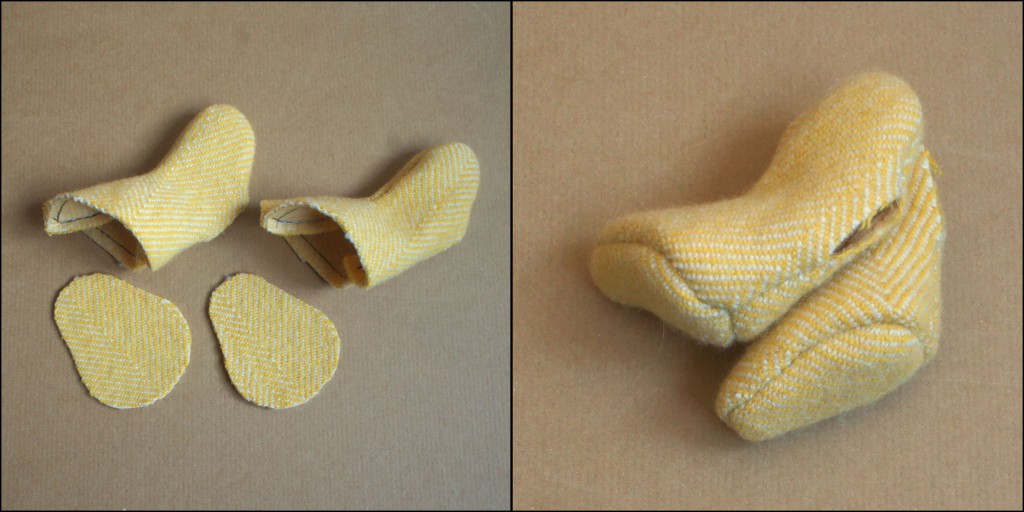
The pictures show the different stages of sewing the hand woven pieces together. I normally start with the head which has the most number of stages. I start with the ears before placing them on the head and then finally inserting the central head piece.
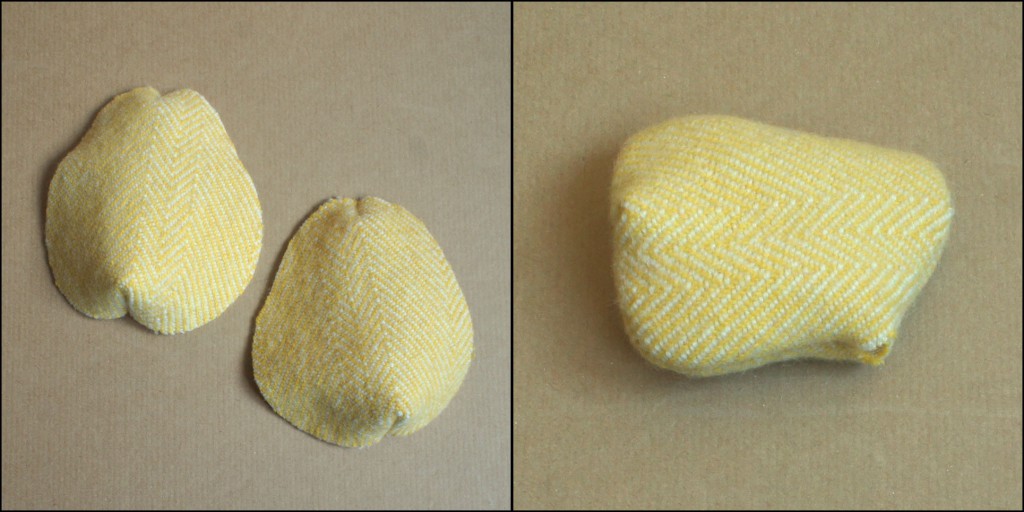
Each piece has to be sewn accurately and lined up exactly. As you can see, the body pieces have small darts at the top and bottom. When sewn together these need to be lined up. For some of the more tricky parts, such as the head and feet, I tack (large loose stitches) them together so that they can be checked and adjusted to line up as I want them to.

When sewn together I leave an opening in each body part. This is so I can insert the cotter pin joints which join the pieces together while allowing them to move around, and of course allows me to stuff the teddy bear.
Look out for my next blog post when the teddy bear will really take shape with stuffing.
by katie | Feb 26, 2016 | Blog, How I make my hand woven teddy bears
Cutting out the pieces for the teddy bears seems like a quick, simple step that doesn’t deserve it’s own post but it is a vital step that requires a lot of consideration.
Once the fabric has been woven I wash and iron it. This softens the fabric and if it is a woollen fabric then it helps to tighten the weave.
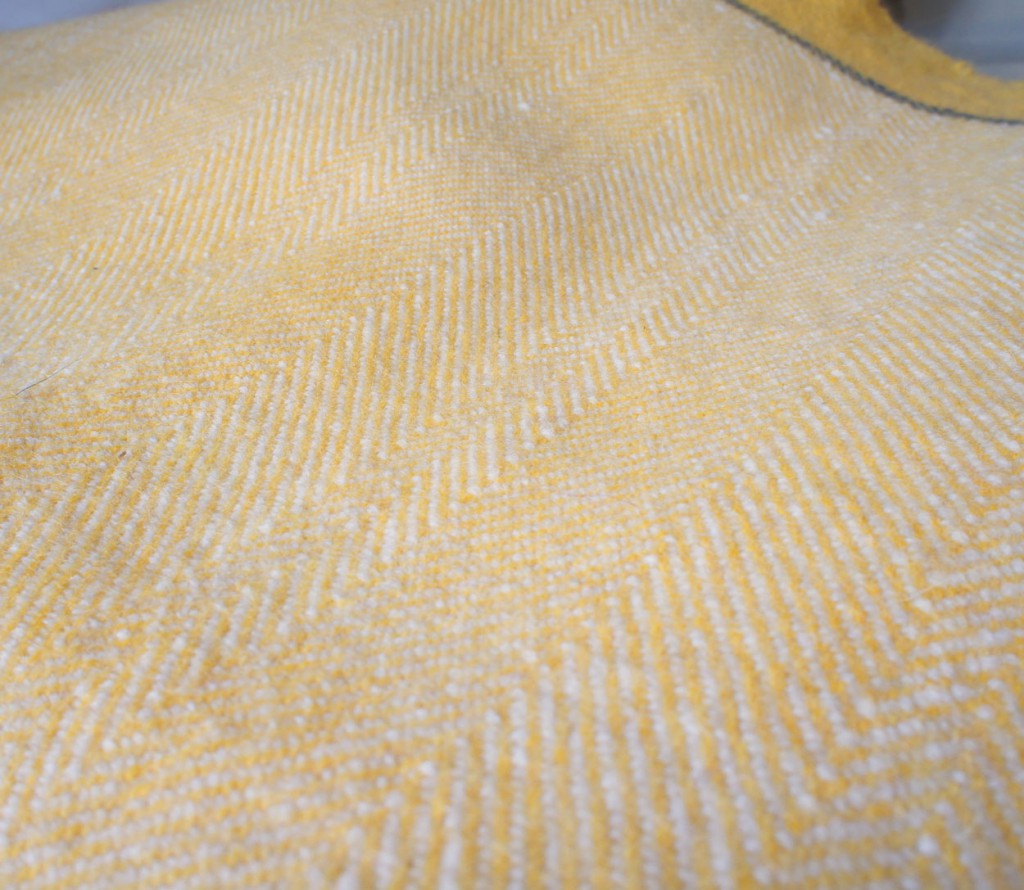
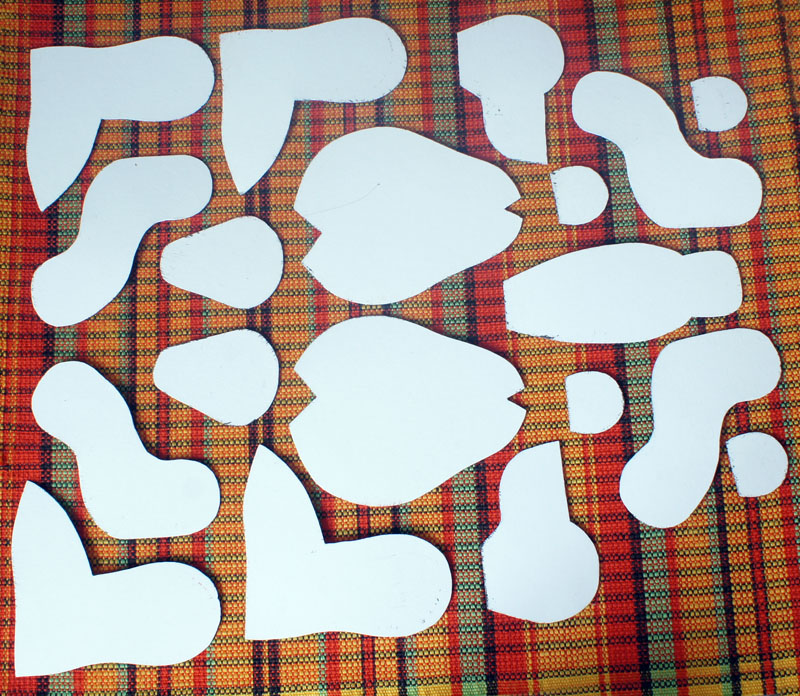
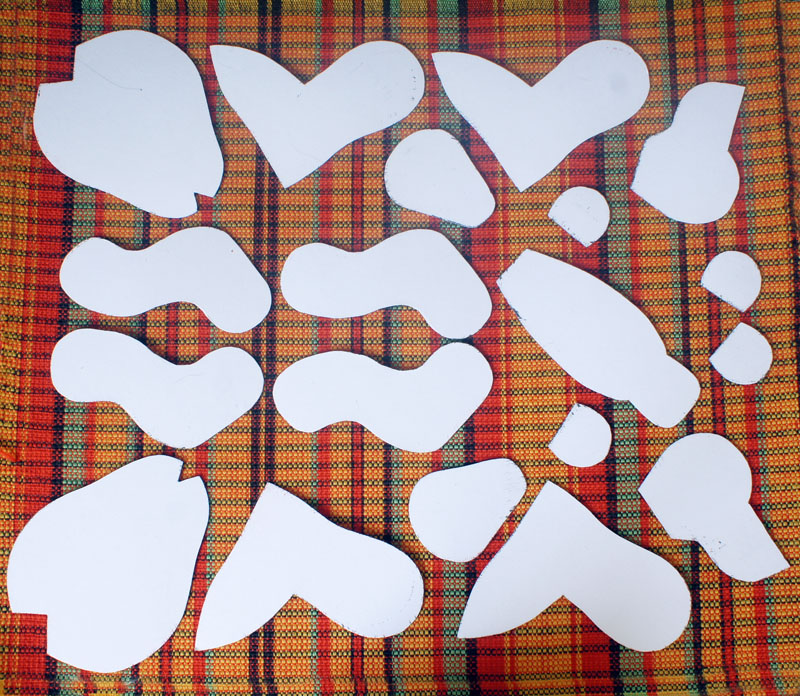
The pattern of the fabric really determines where I place the teddy bear pattern pieces. If the fabric is all one colour or the pattern is more of a texture then I would probably just place them all on the in the same direction on the fabric with the selvedges vertical. However, if there are stripes or a larg pattern then where I place the pattern pieces really makes a huge difference to the final look of the teddy bear. The things I consider are:
- The direction I want the stripes on the teddy bear, this may be horizontal, vertical or diagonal
- Whether the teddy bear is going to be symmetrical
- How I want the pattern to cross the seams of the bear
The images below show three different ways I might place the pieces on a stripy fabric. The first shows how the pieces would be placed for vertical stripes, the second horizontal and the third diagonal. All three would also be symmetrical teddy bears.
Once I have decided how I want the teddy bear to look and therefore how I am going to place the pieces they can then be cut out as shown below.
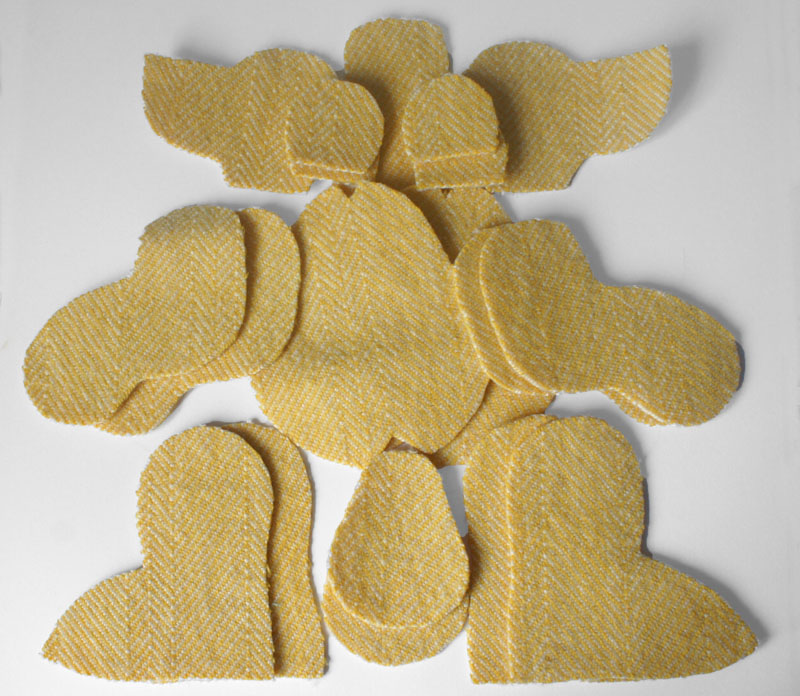
The teddy bear is then ready to be sewn together and will start to take shape.
Have a look at my next post to find out about stitching the pieces together.
by katie | Feb 19, 2016 | Blog, How I make my hand woven teddy bears
In this post I am going to tell you how I hand weave fabric for my teddy bears. Once the loom is set up (as in my previous post) I can begin to weave my fabric. This time I am using a Countermarch loom but sometimes I will use different looms which means the weaving process is slightly different.
For my countermarch loom the first this to do it set up the treadles underneath, this determines the structures I am going to weave. Each treadle needs to be tied to every shaft. The shafts contain the heddles and each of these ties will decide whether the shaft will be lifted up or pulled down, this is how the structures are created.
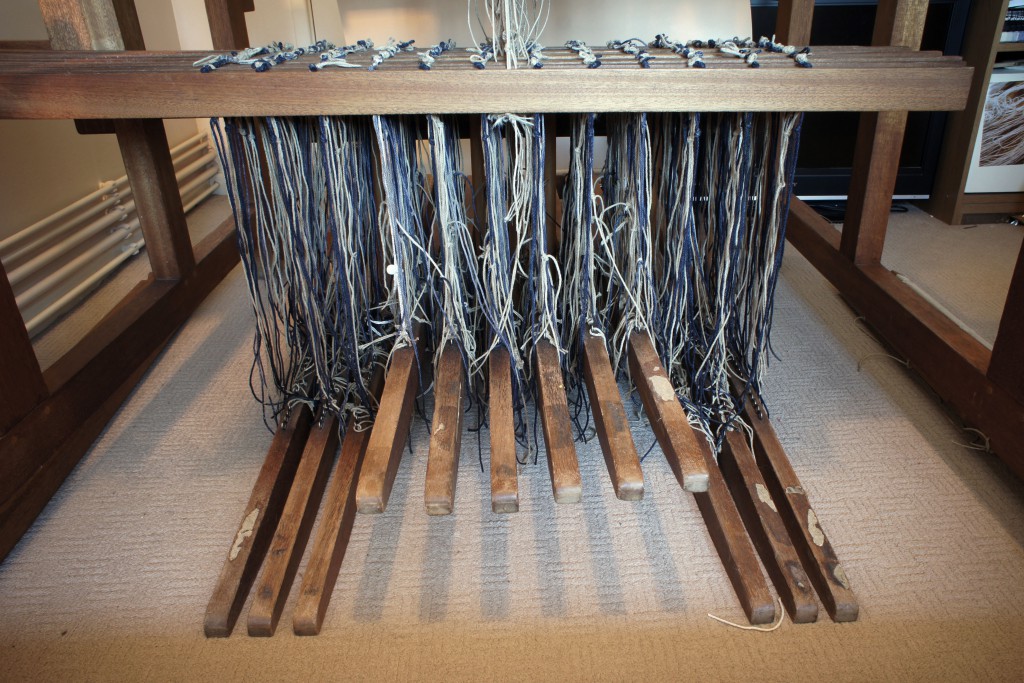
Treadles tied up to shafts
When a treadle is pressed with the foot and the shafts lifted or lowered it creates a triangle shaped gap in the warp called the shed. A shuttle containing the weft (horizontal threads) is passed through the shed, the fabric begins to be woven.
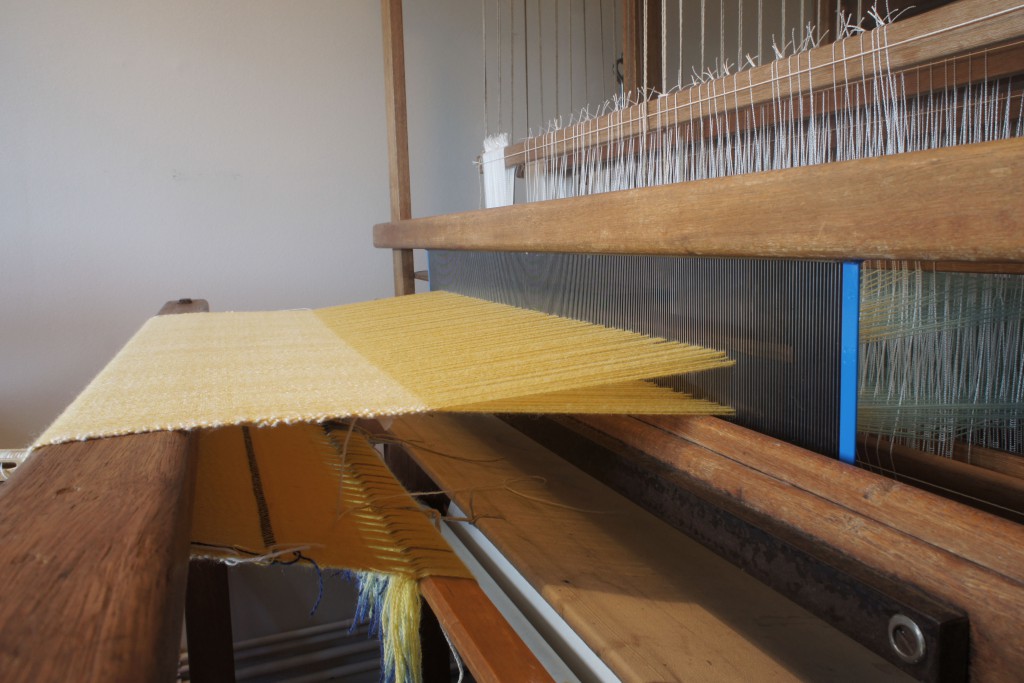
Shed
The treadles are pressed in a certain order depending on what I am weaving, sometimes all twelve treadles will be used, sometimes only four may be needed. As more and more weft threads are interlaced with the warp threads the fabric grows longer. I will weave a few different fabrics from the same warp. Using different patterns and weft threads means I can produce very different fabrics from the same warp.

Woven fabric with shuttle
Have a look at the next step – cutting the pieces
by katie | Feb 13, 2016 | Blog, How I make my hand woven teddy bears
In this post I will talk about setting up the loom ready for weaving which involves putting the warp on to the loom. These threads need to be put on the loom in a very particular way to enable hand weaving.
First of all one end of my warp is wound on to a rotating beam at the back of the loom. To ensure the threads are spread across the width of this beam evenly I use a raddle which is a wooden bar with nails at half inch intervals. The threads are sectioned into half inches, between each of the nails.
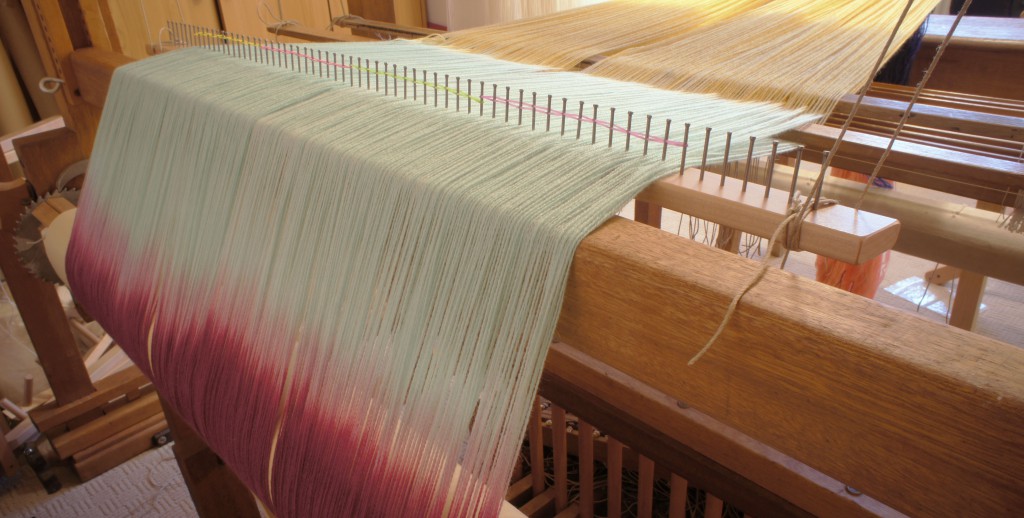
Warp wound on to back beam through raddle
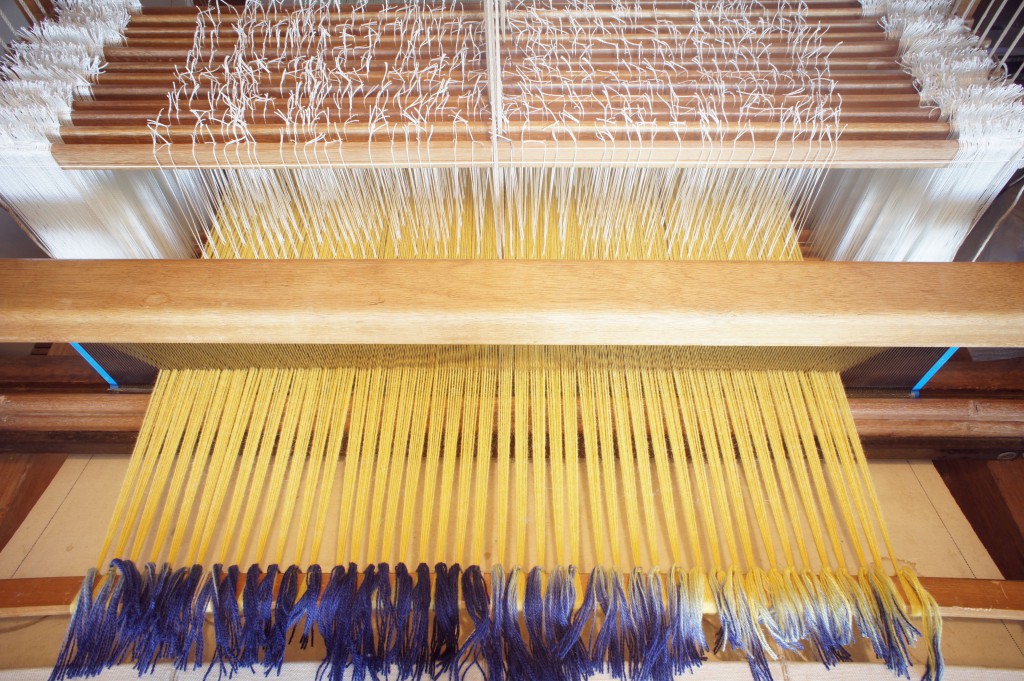
Each individual thread is then put through a separate heddle, for my handwoven teddy bears there can be around 800 threads. Heddles are pieces of polyester thread which have an eye like a needle in the middle. Each of thread needs to be threaded in a certain order and through a particular heddle. This controls the types of patterns that will be handwoven on the loom.
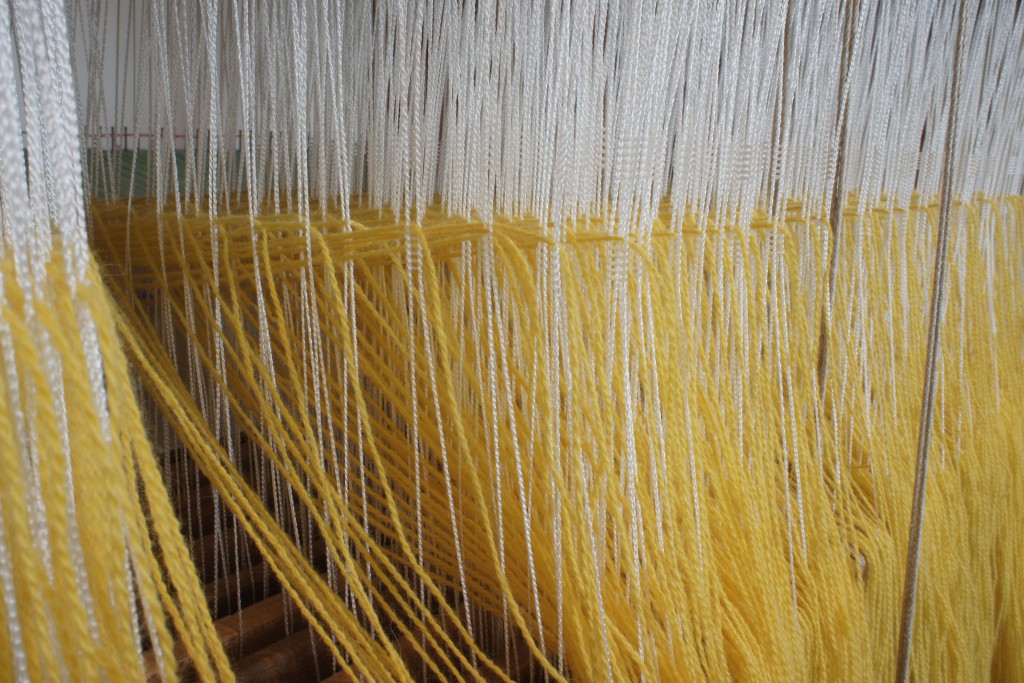
Warp threads threaded through heddles
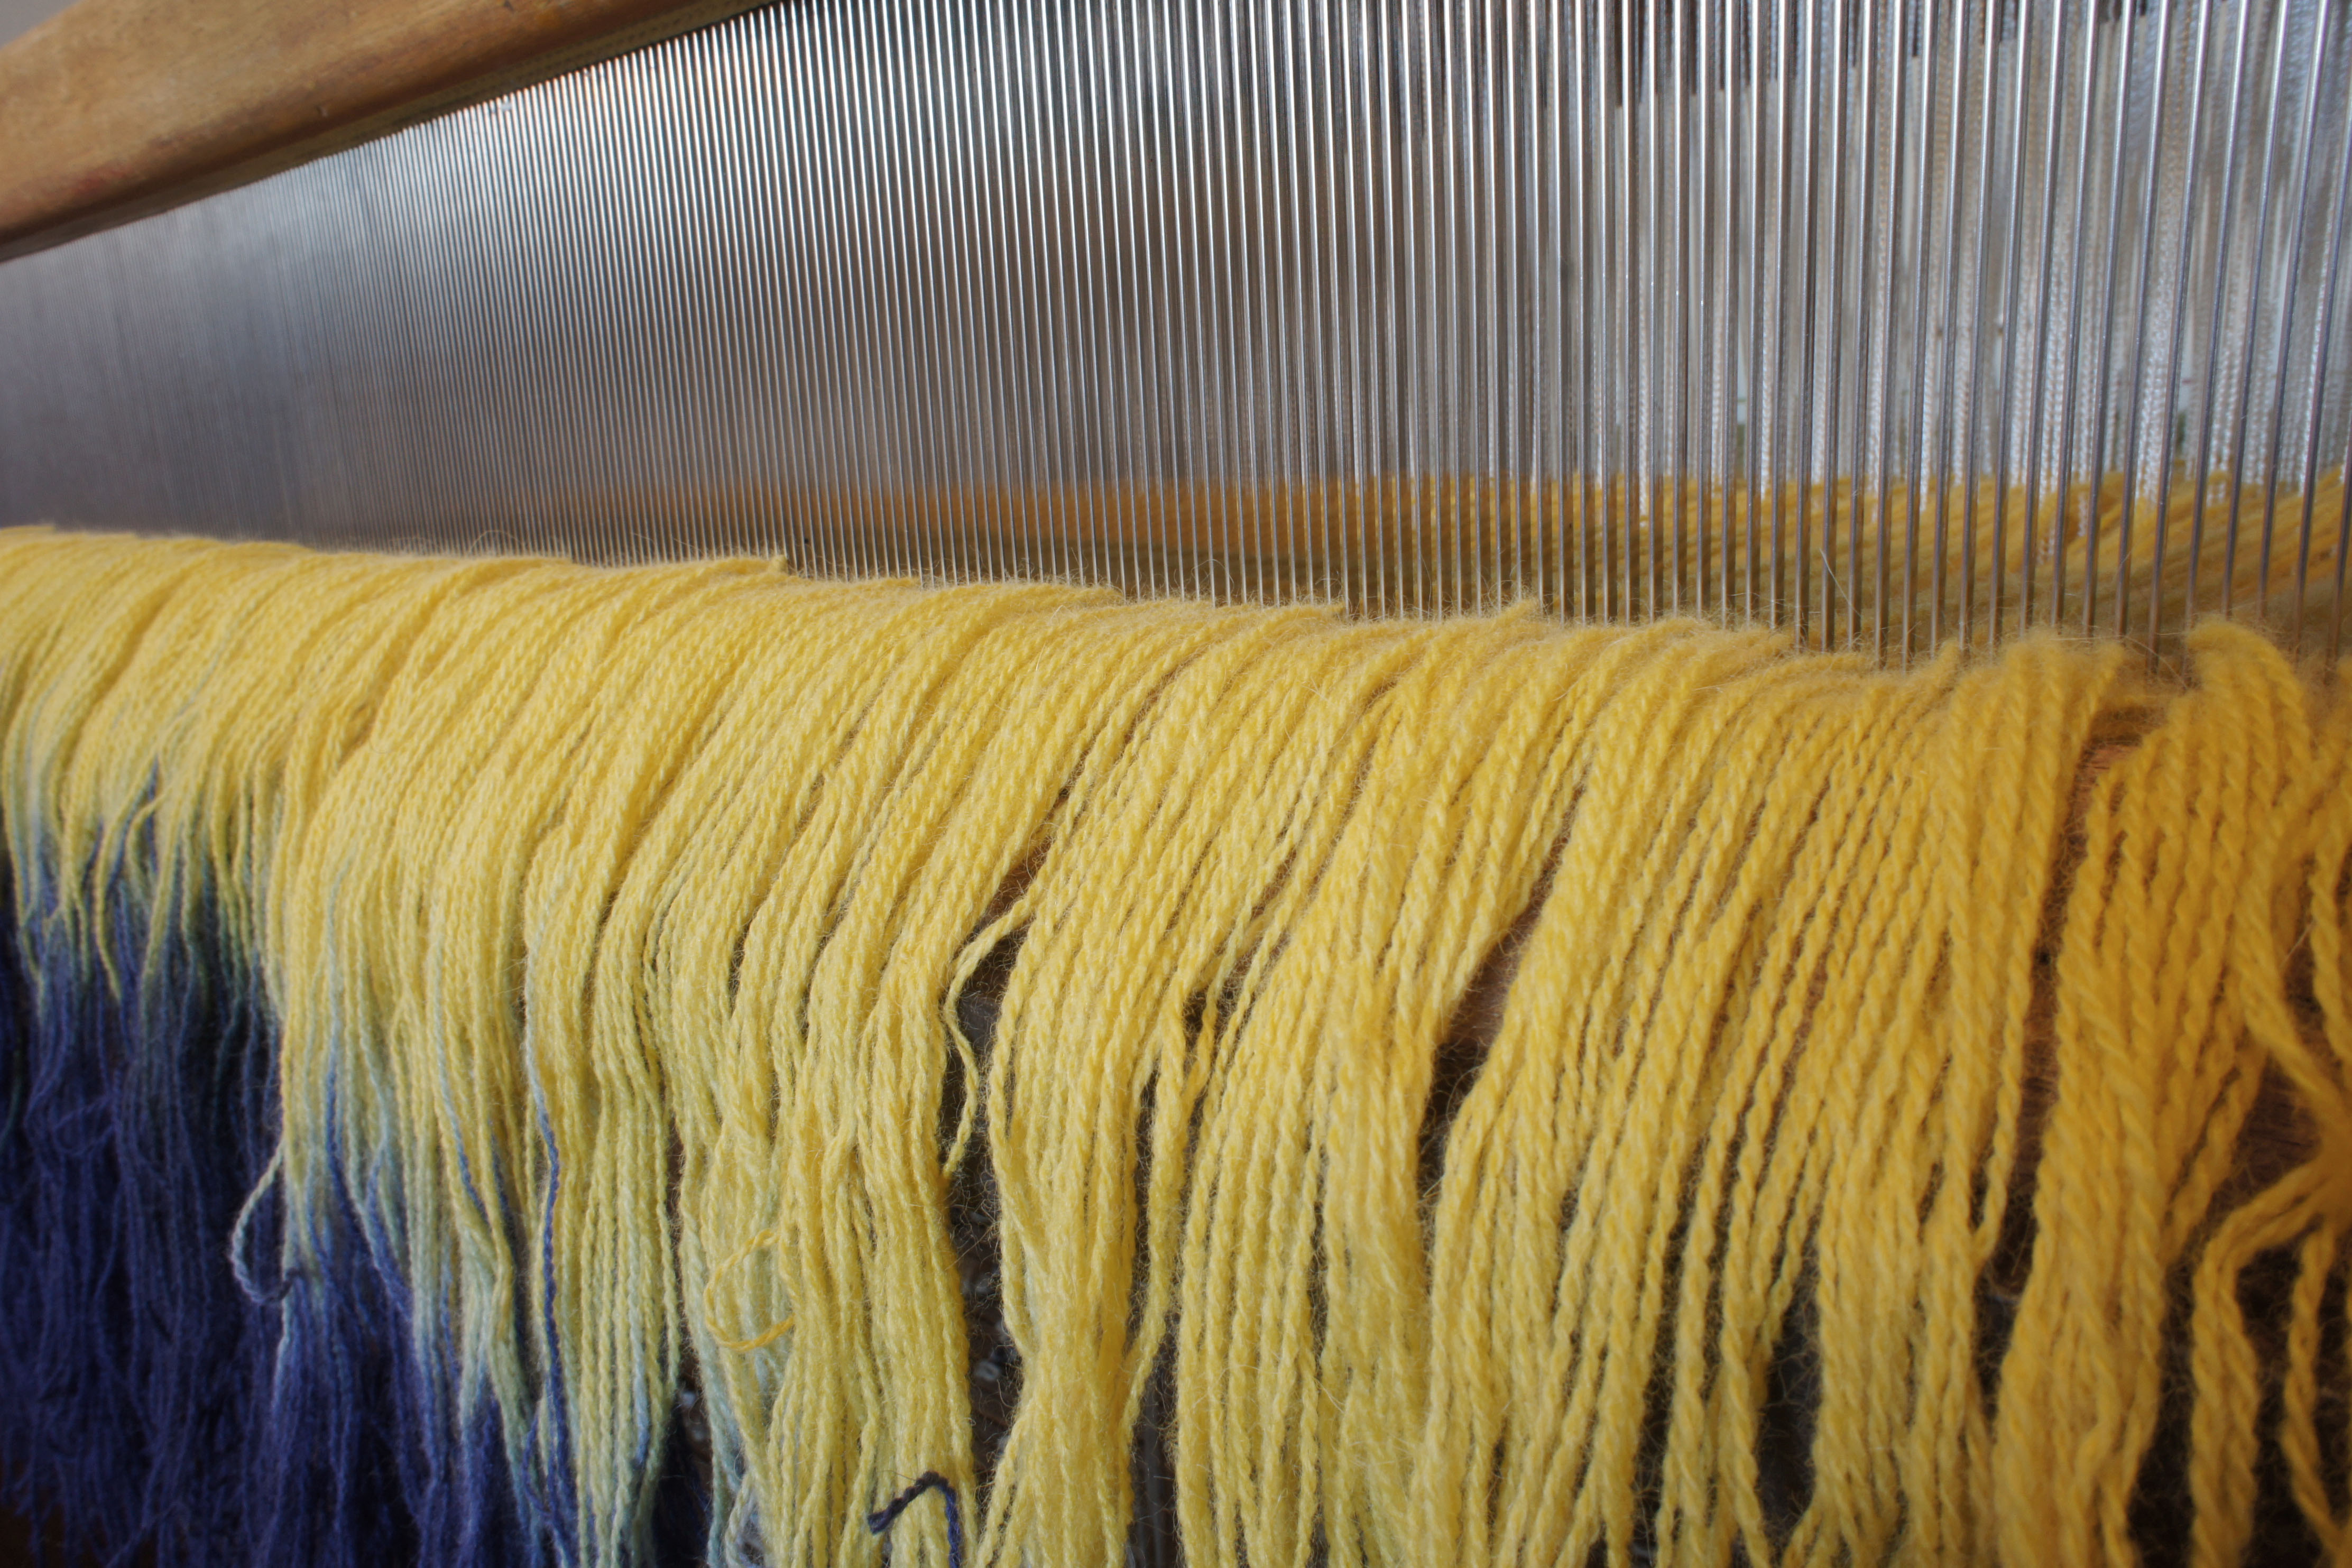
It is really important that when I weave my fabric for my teddy bears the threads are distributed evenly across the width of the fabric, and not too close together or too far apart. This is set using a reed which has a certain number of gaps per inch. A set number of threads is put through each of these gaps, usually two or three.
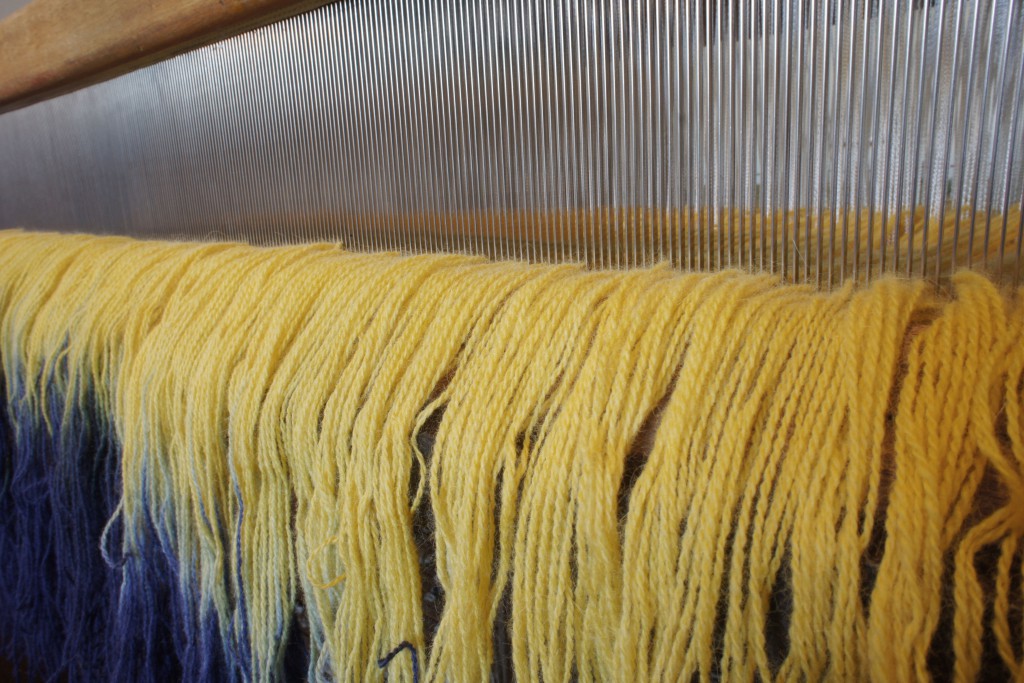
Warp threaded through reed
The other end of the warp is then tied on to a rotating beam at the front of the loom. The tension of each and every thread must be the same to avoid problems when weaving.
Warp tied to fron beam
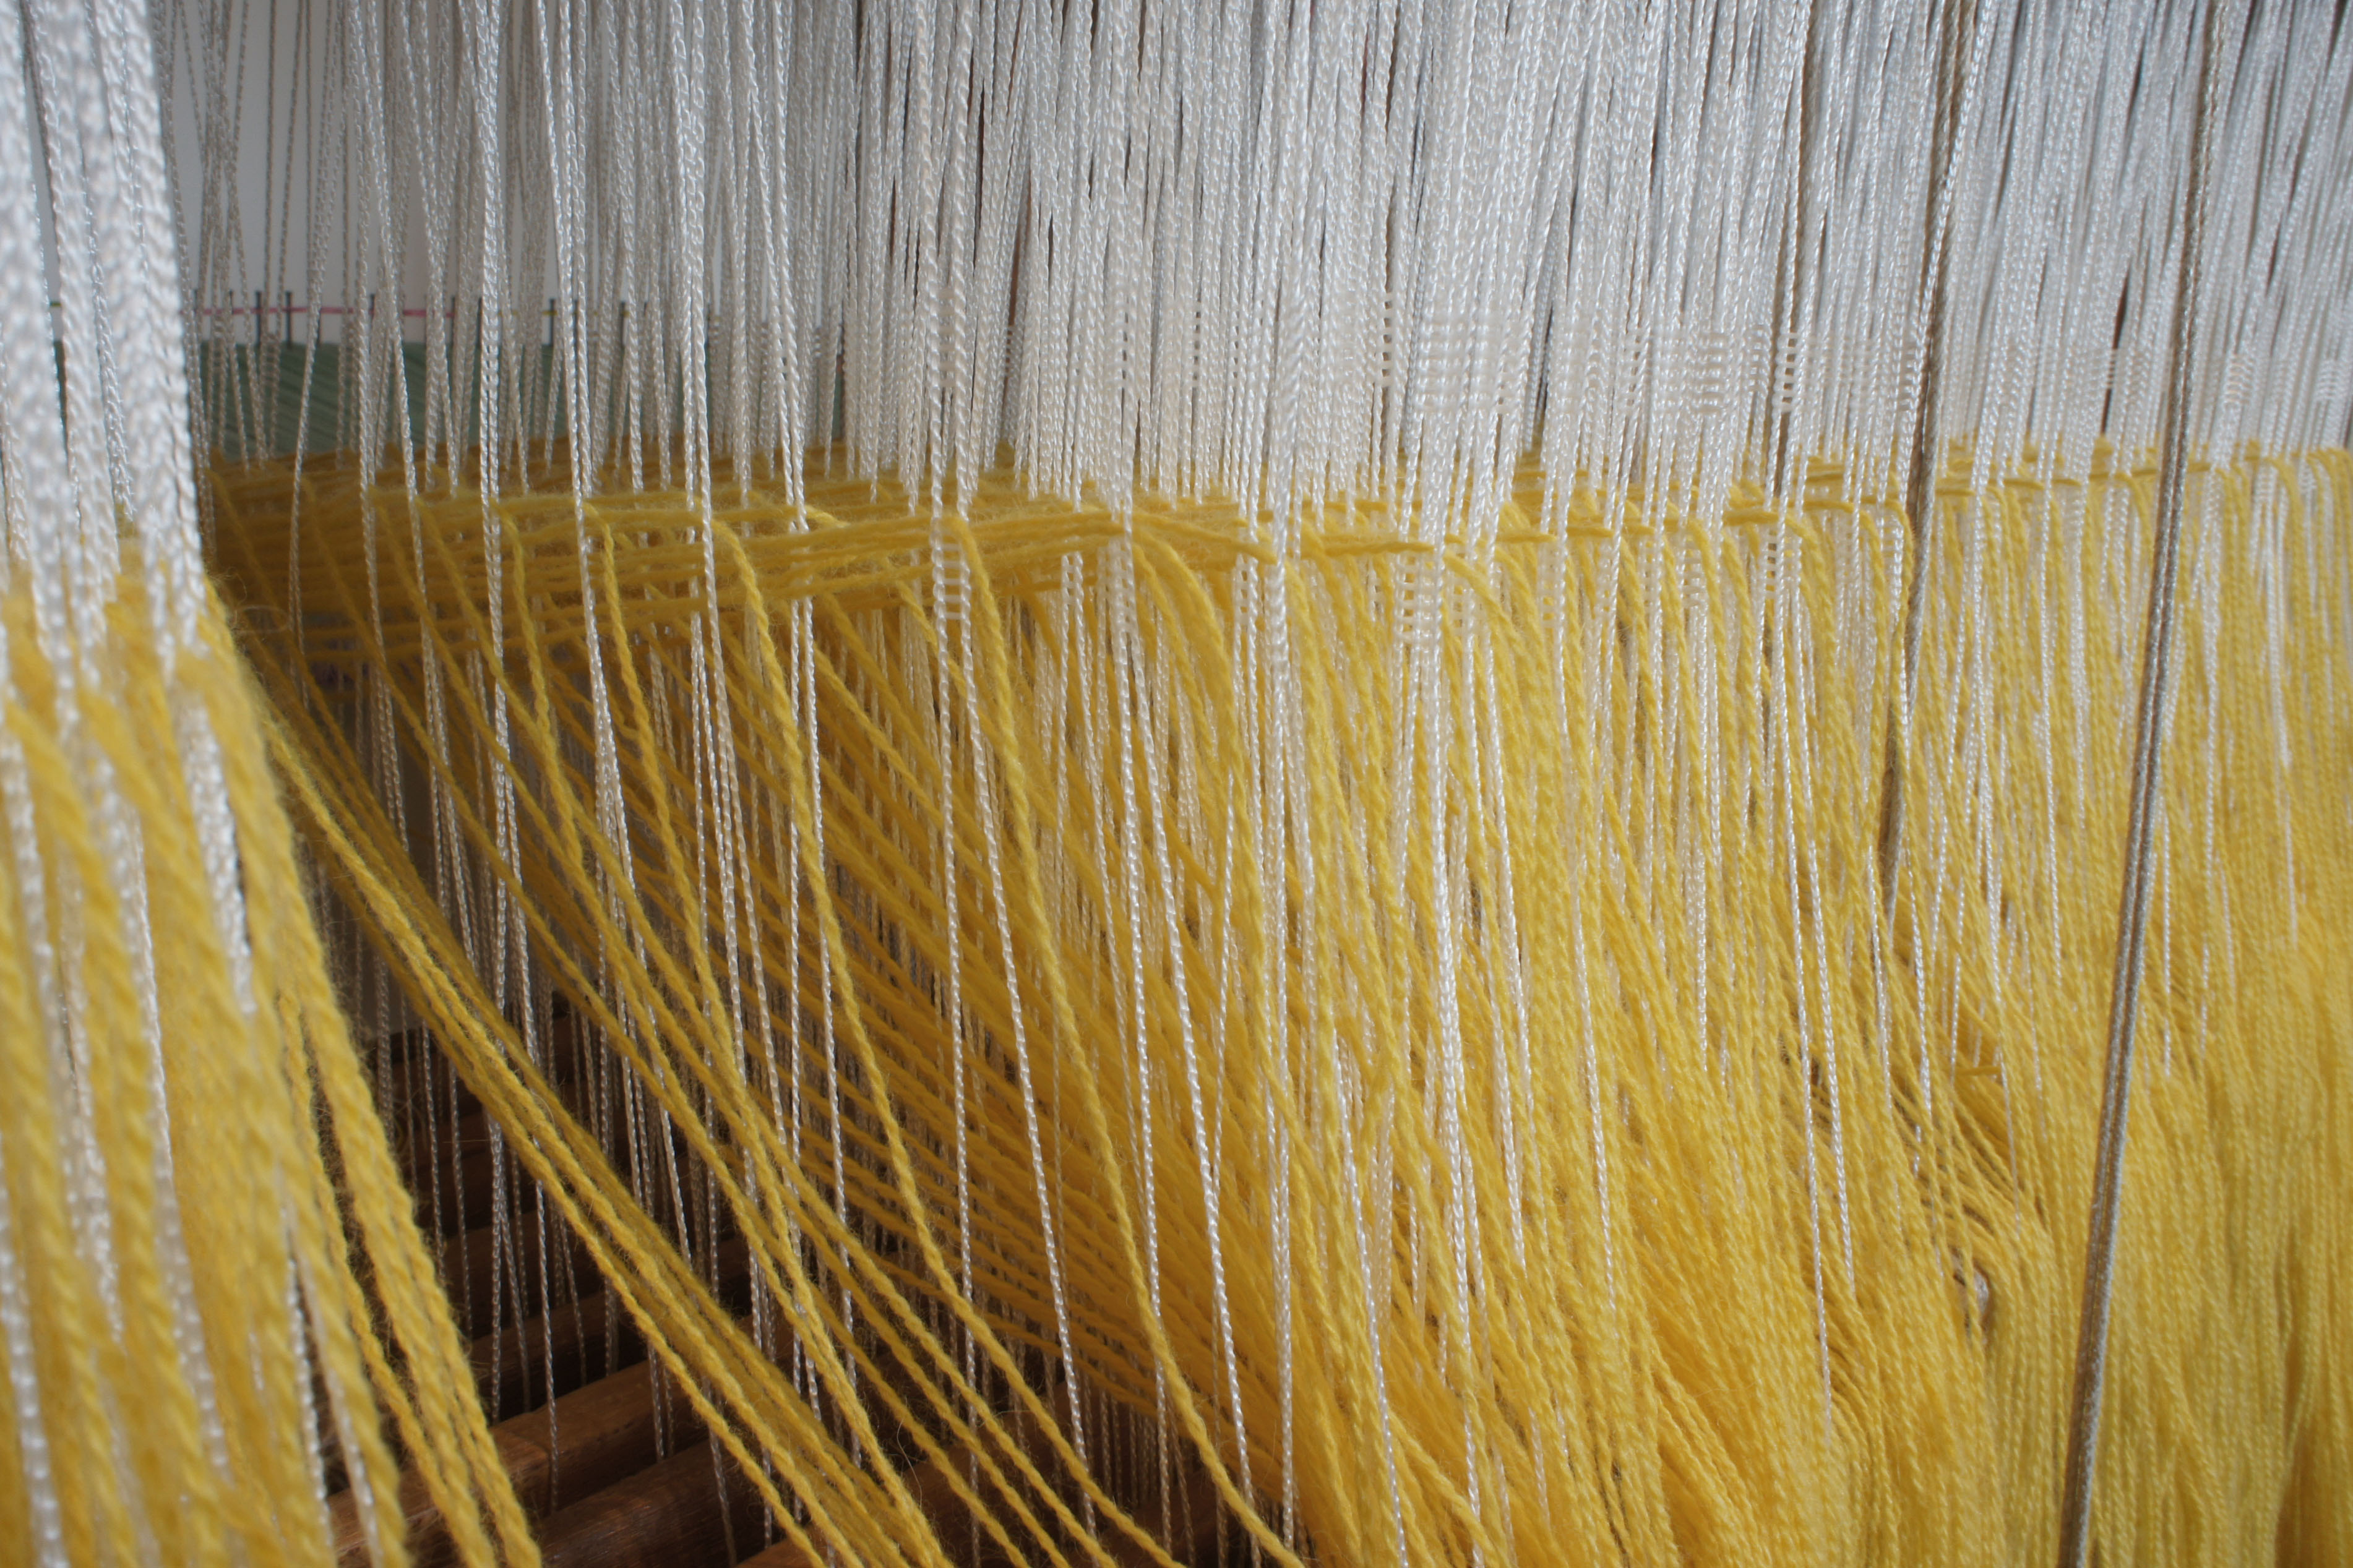
I will then have my set of threads (the warp) tied from the back of the loom to the front of the loom under tension, threaded through the heddles and reed. These form all of the vertical threads in my final fabric. At this point I am ready for weaving.
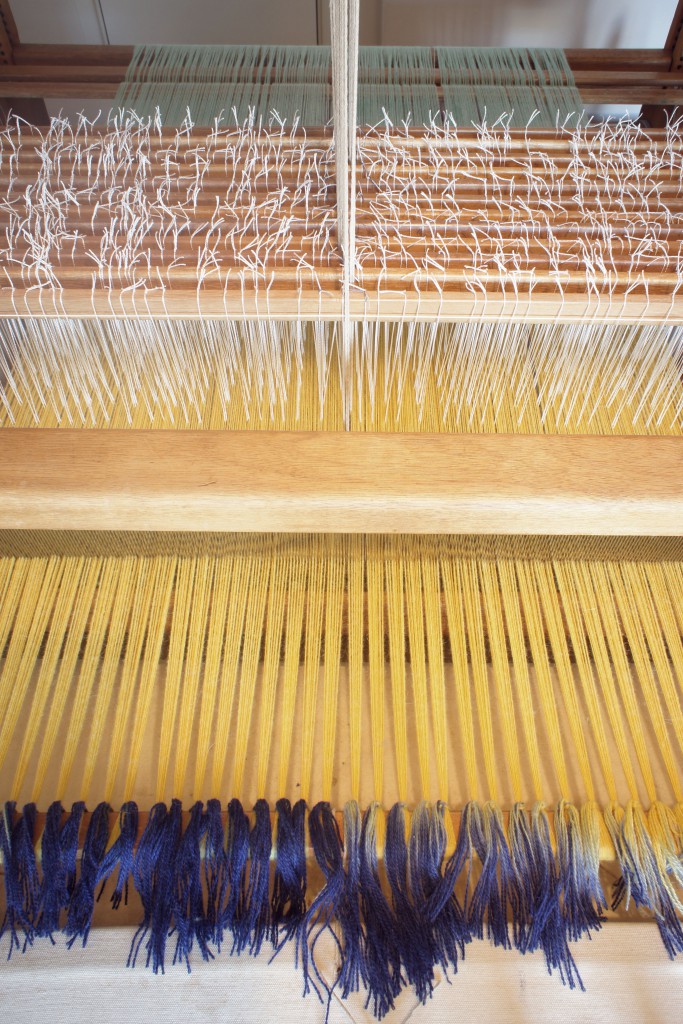
Warp ready for weaving
Have a look at the next step – weaving the fabric